


This is a 9-part series outlining the way I worked for #SheBuilds.
If you’re curious where I started, check out Part 1: Show Me Your Prompts

Last week I ended with ‘Next week we start the build’. Well, kind of true. We are going to create our repository using Lovable and get started.
I also want to highlight that everything in this series is how I work. These are practices I’ve built over years. You can take as little or as much as you want from it.
Lovable allows you to provide a prompt to create a project. You can be as simple or detailed as you want. I created a super simple prompt for this example so it does nothing but create a static page in Lovable.
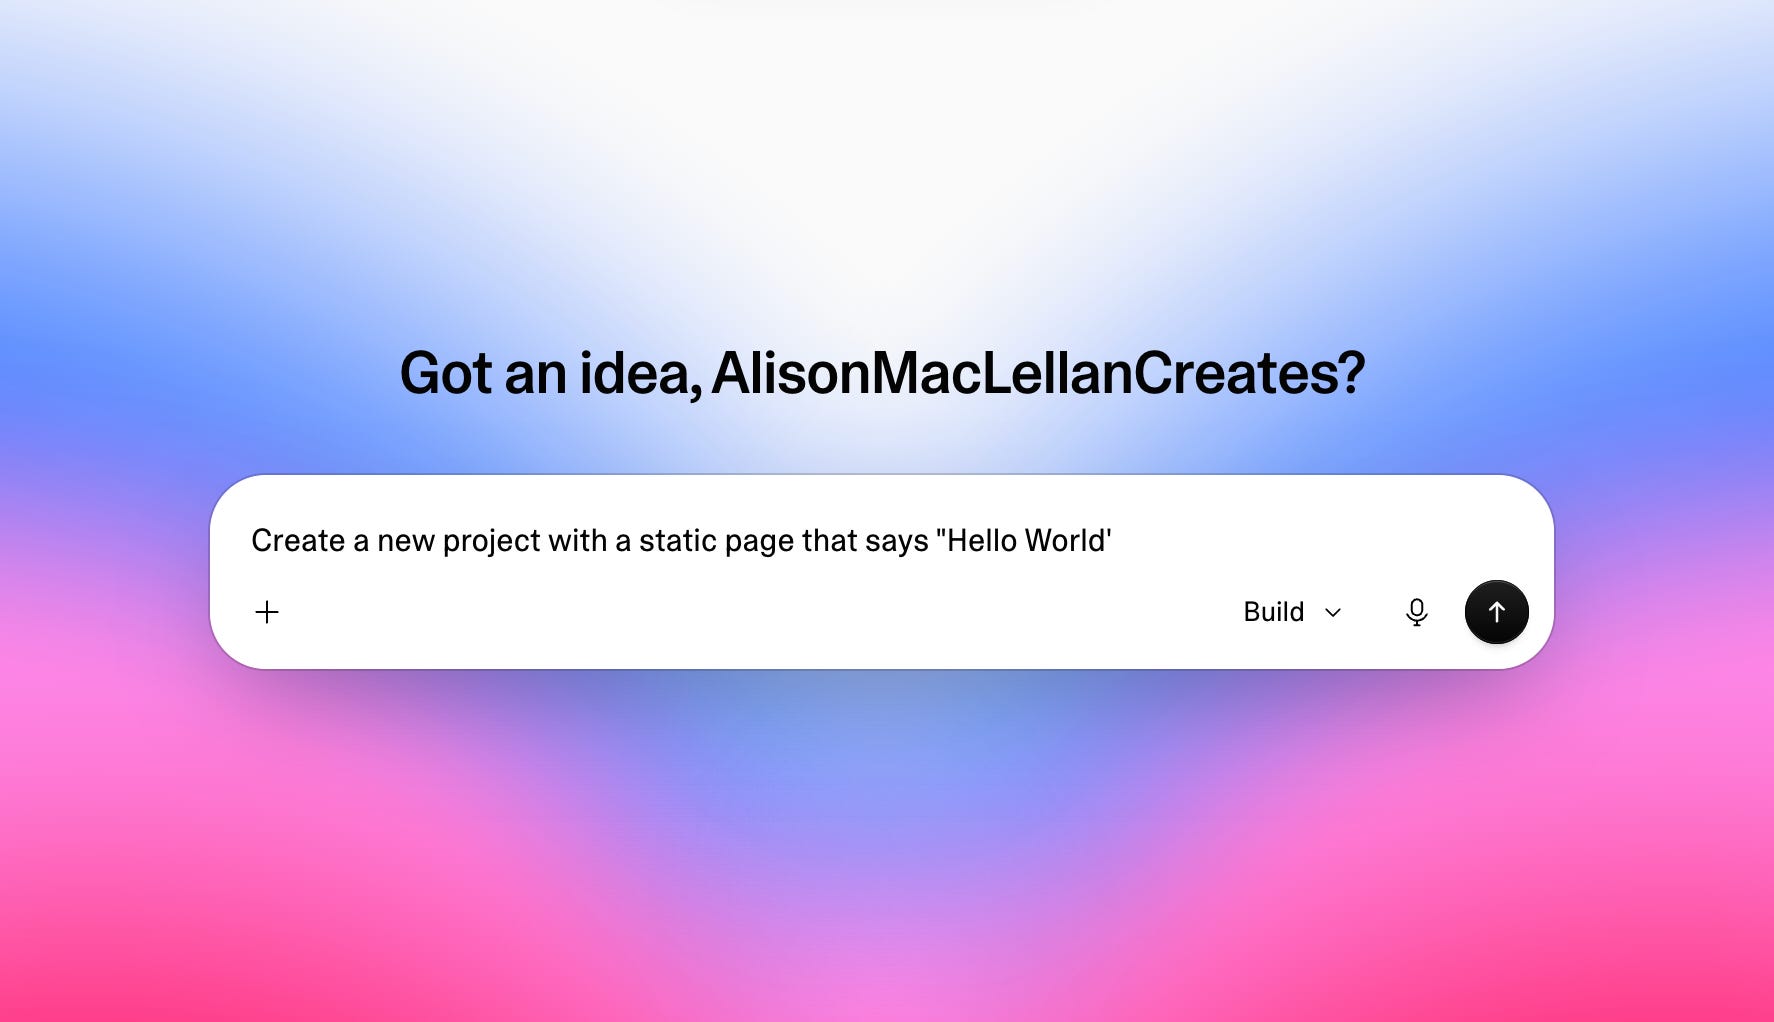
I know this essay is called Before the First Prompt, and here I am writing a prompt. But the example above doesn’t define what we’re building. It just lets us move forward. For #SheBuilds, they wanted us to define the project in our first prompt. So I used this prompt to describe the whole project, then said, don’t build anything but a static page with the name.
Why? Because I want to use GitHub. Lovable wants to create the repository for you, not have you provide a repository. You can provide a repository for remixing, but it will create a new repository. So better to start with the simplest possible project you can in Lovable and then move forward with creating your repository.
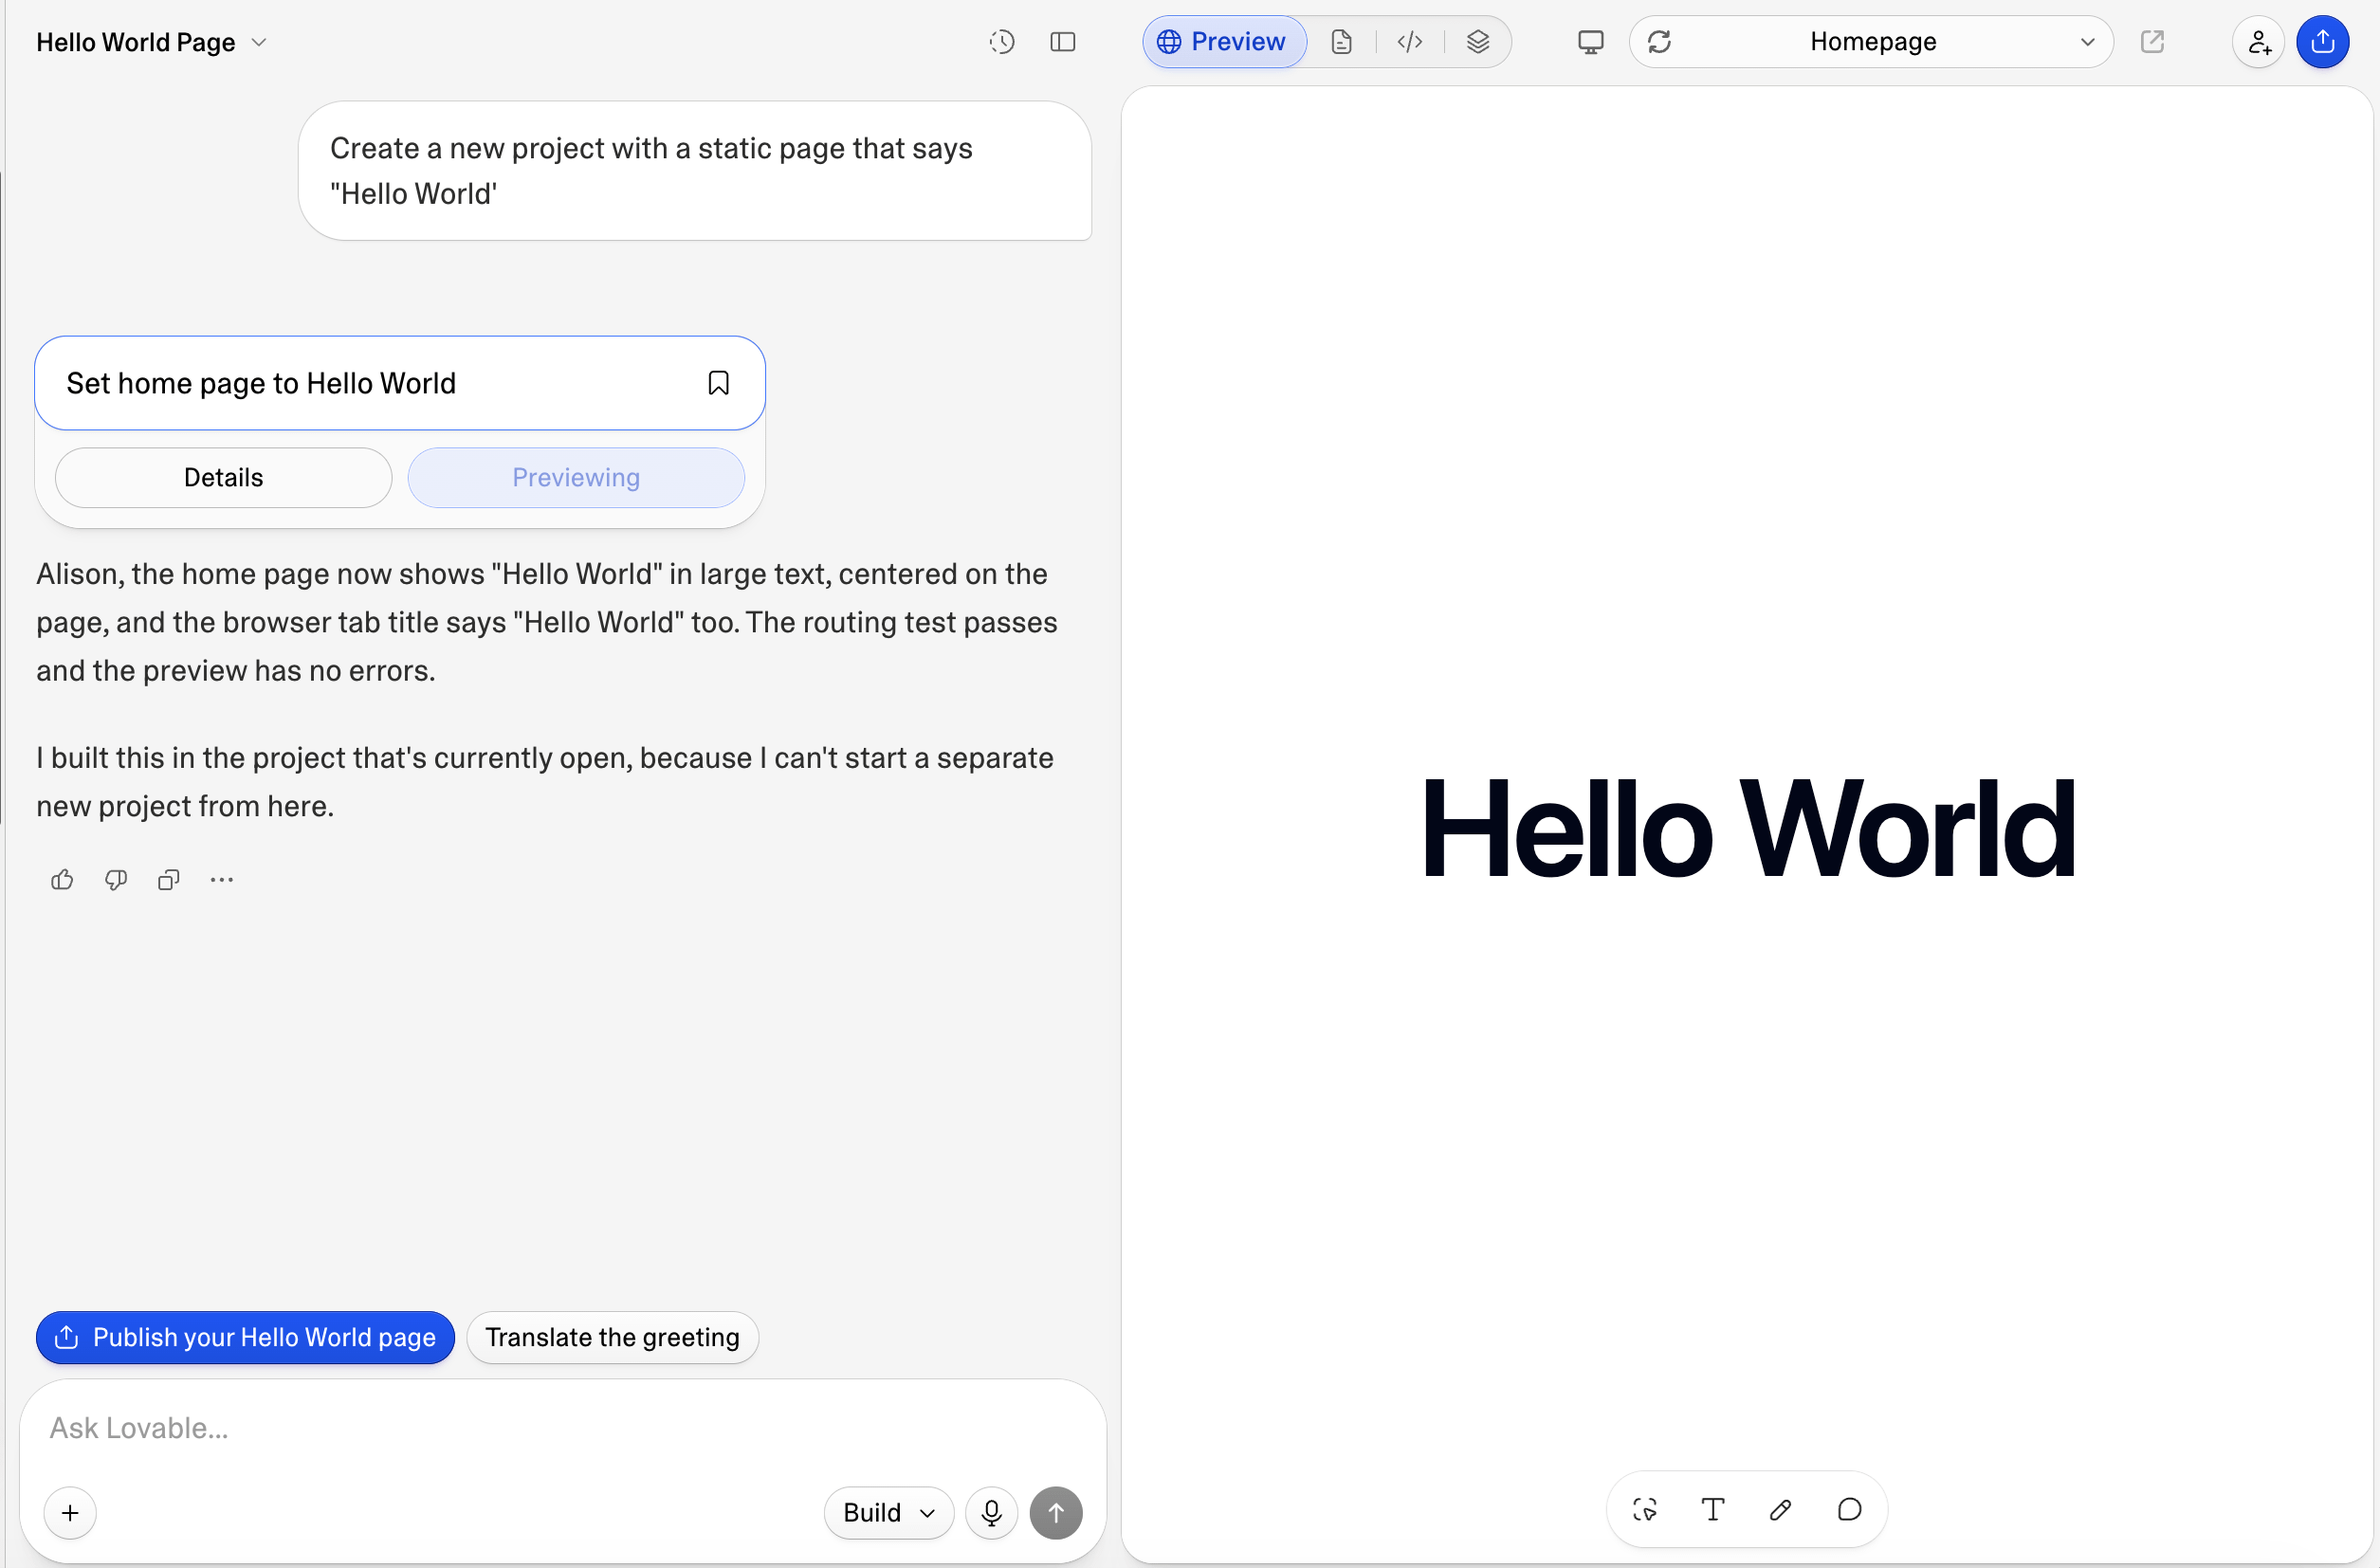
Lovable doesn’t require that you use GitHub, but I’m much too used to using a source code manager (SCM) to bypass this step. As we work through this week, you’ll see the benefits I gain by going this route.
Once the page is created, it’s time to create the GitHub repository. You do this by selecting More from the menu above the page you’ve created. After you select More, the bottom item in the menu is a settings wheel. By opening it, you’ll see an image indicating Git.
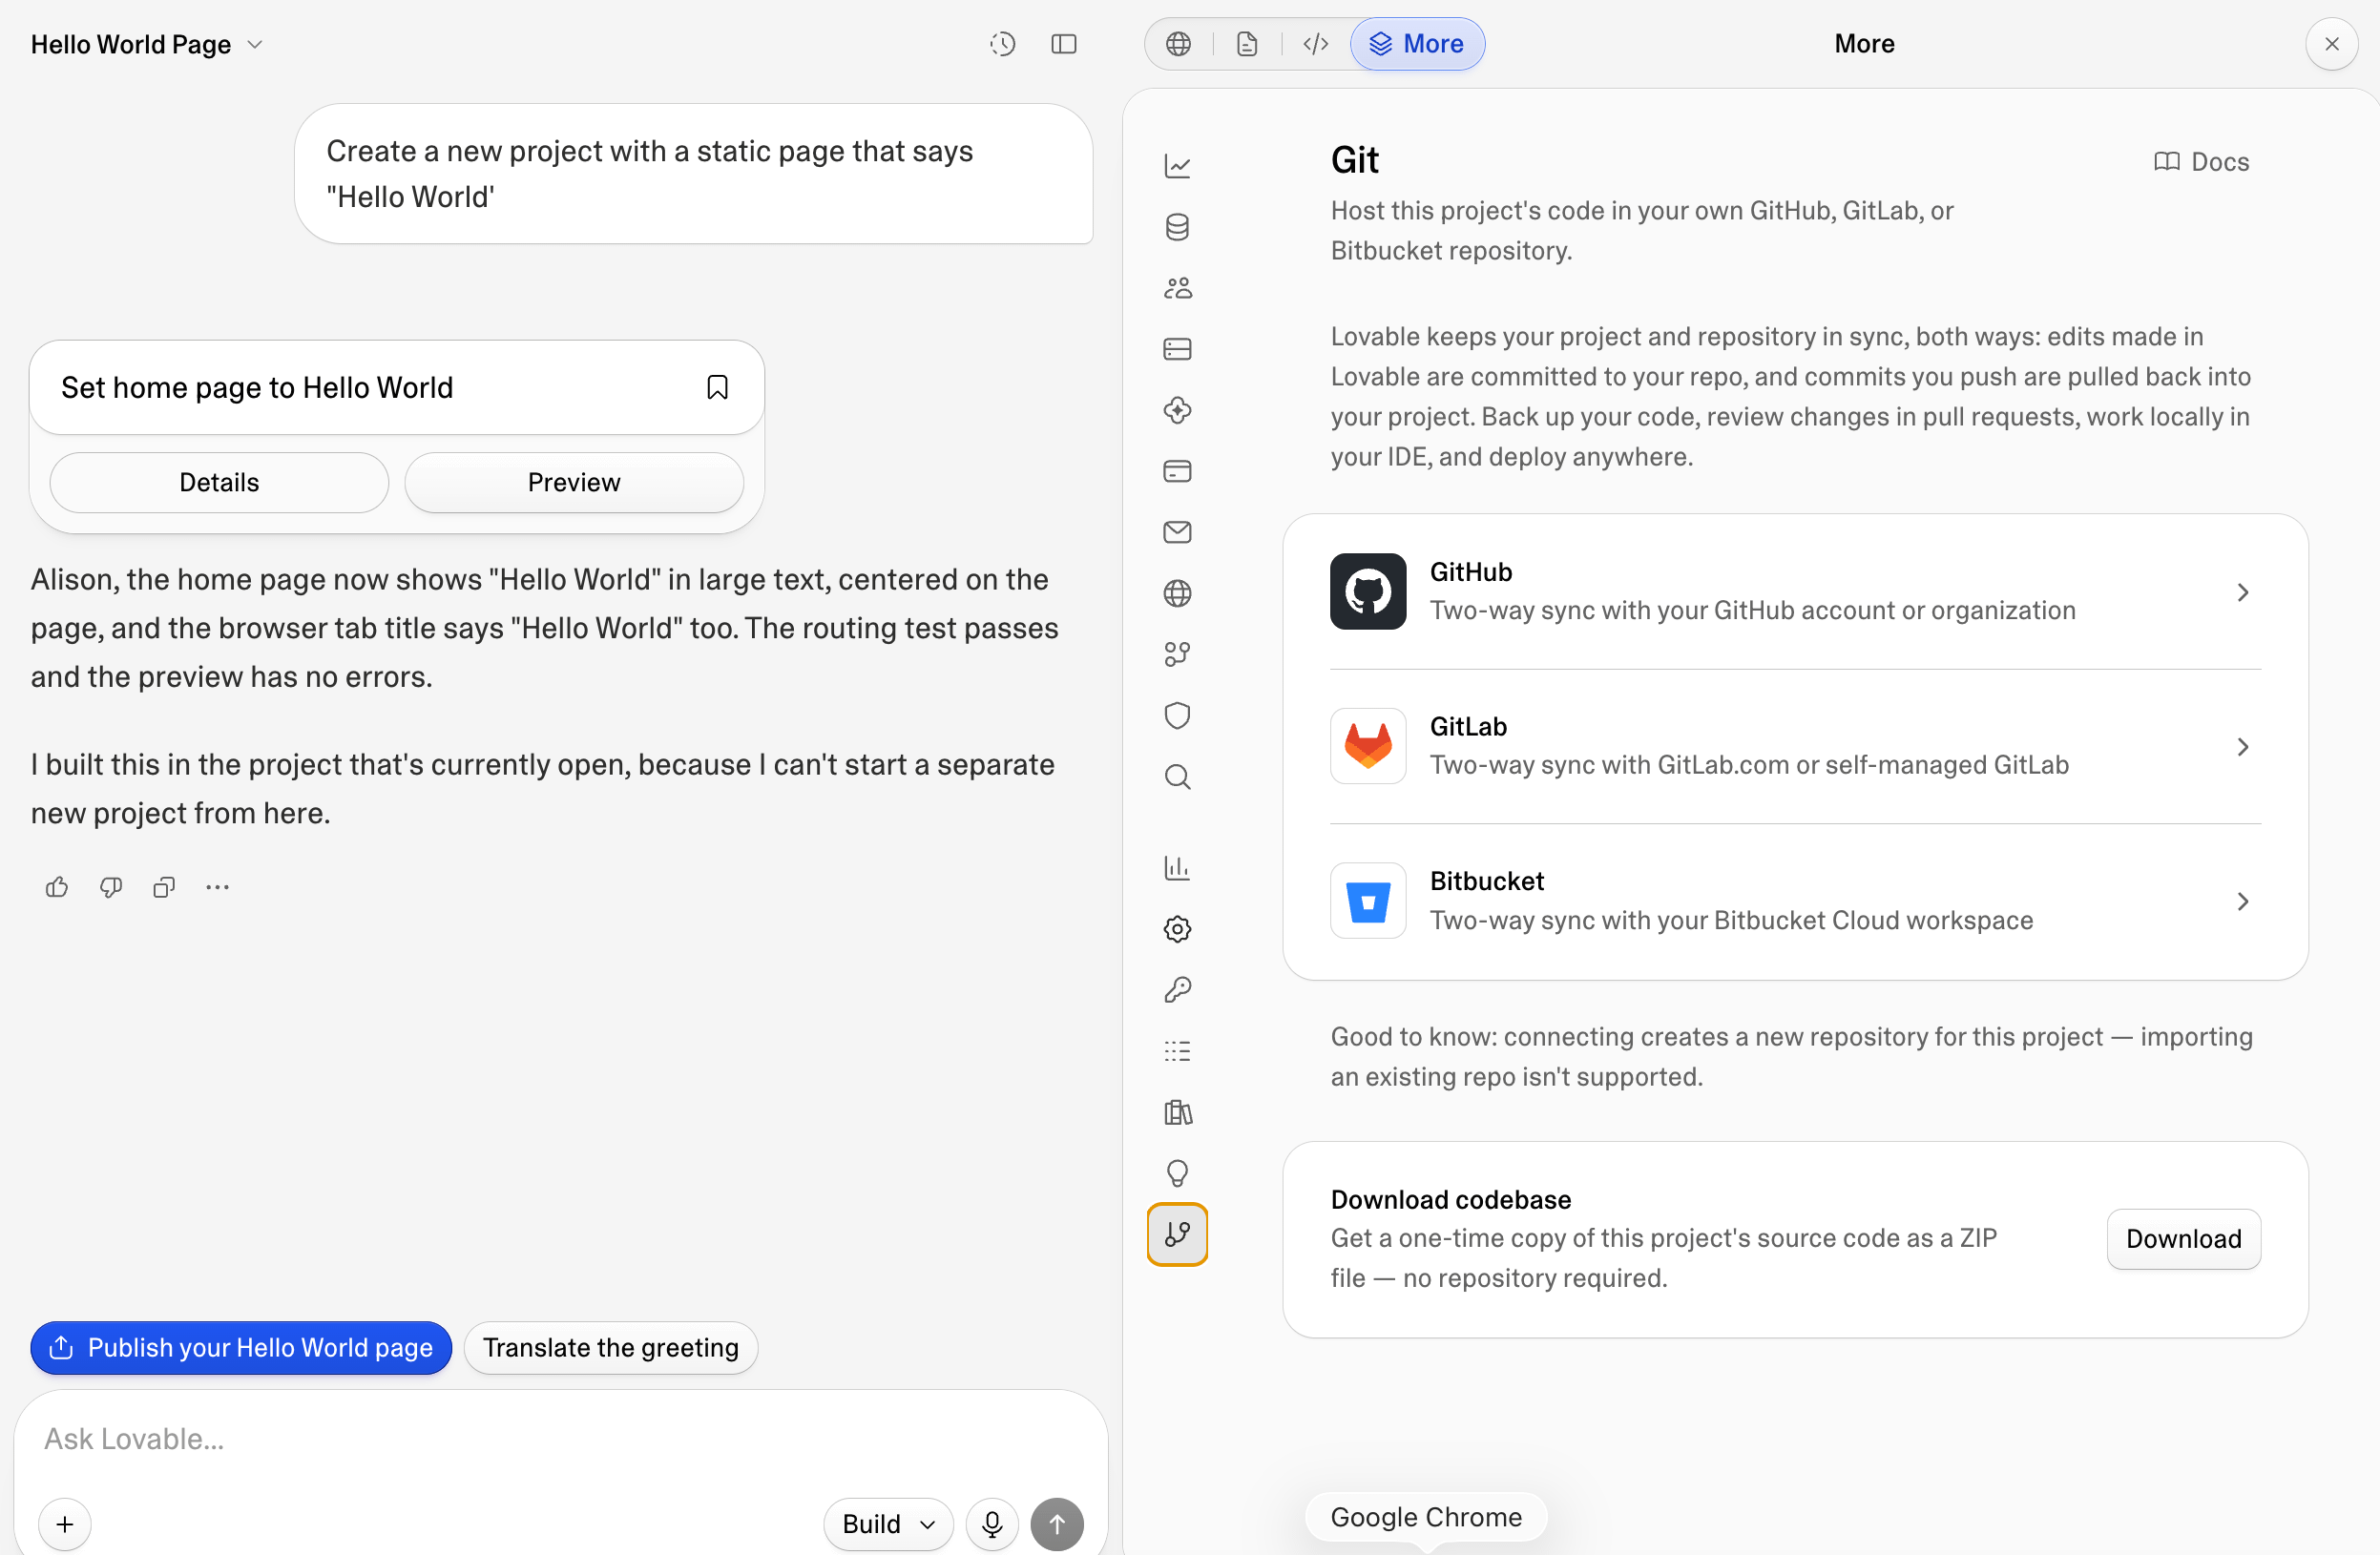
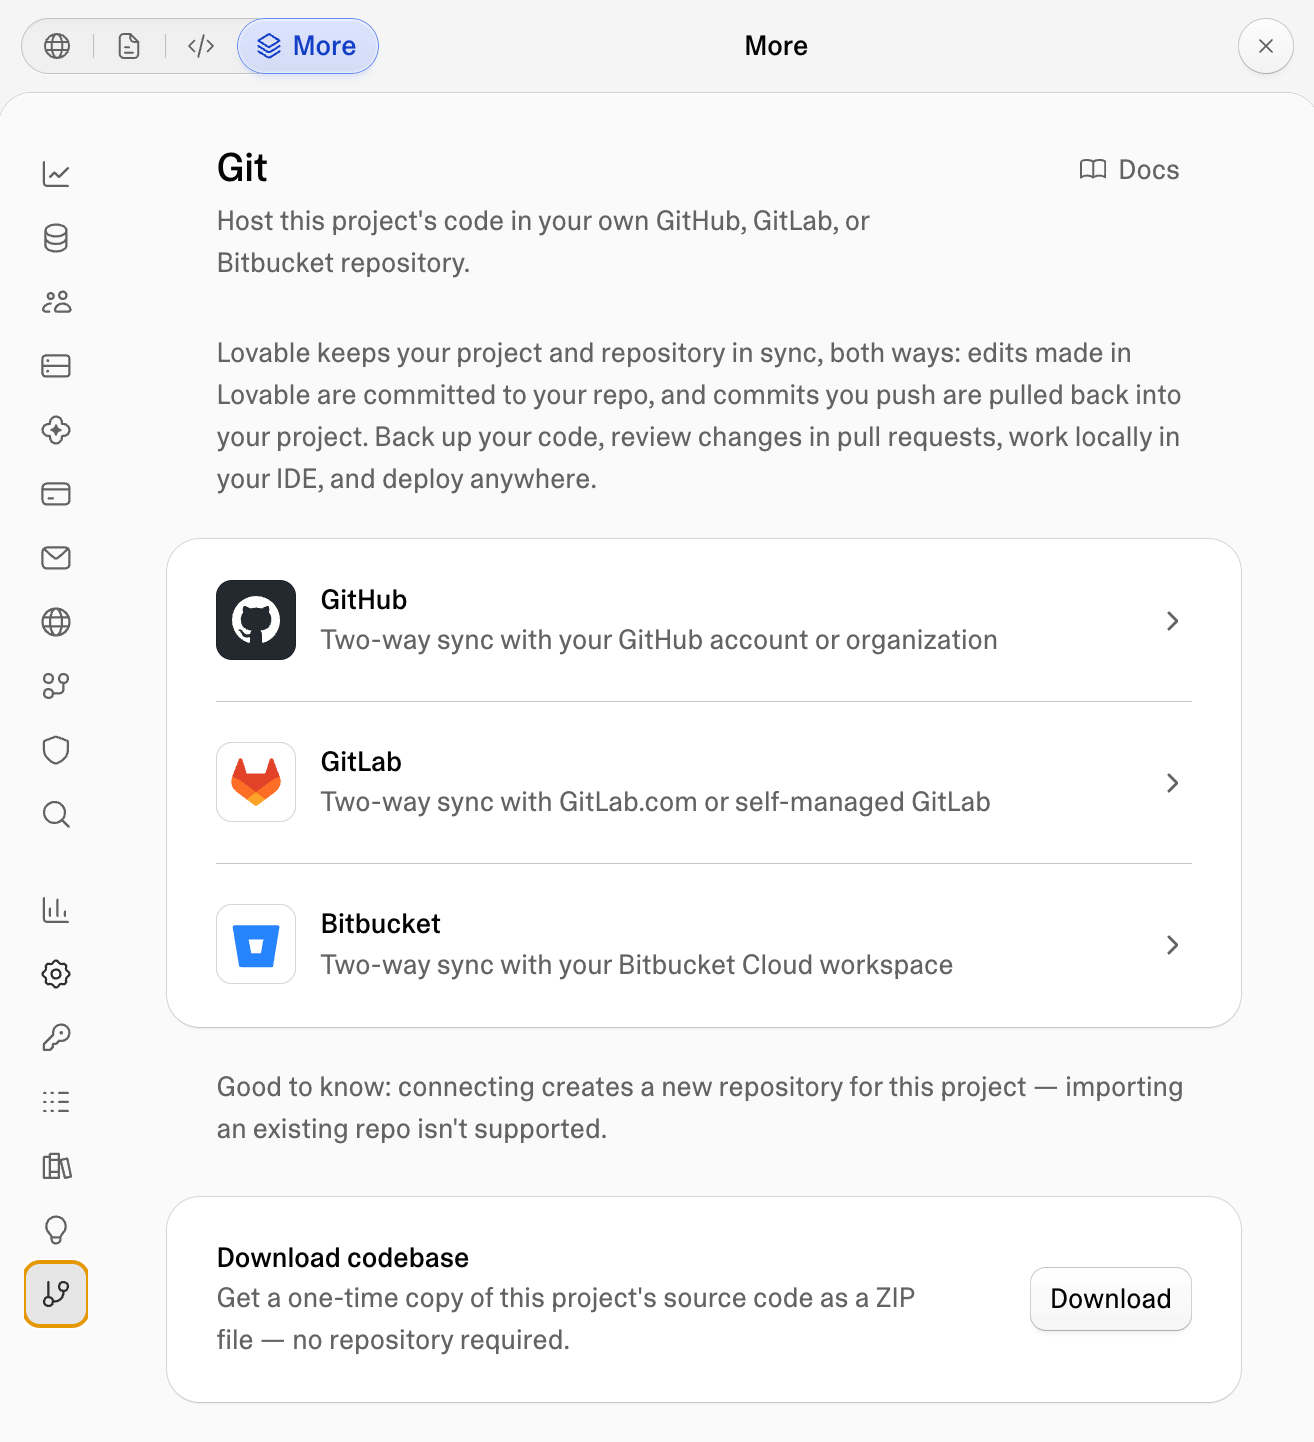
From here I select GitHub and connect to my GitHub instance. If you don’t have a connector in place for GitHub, you can add it here. You can see here I have multiple GitHub accounts attached to my Lovable account.
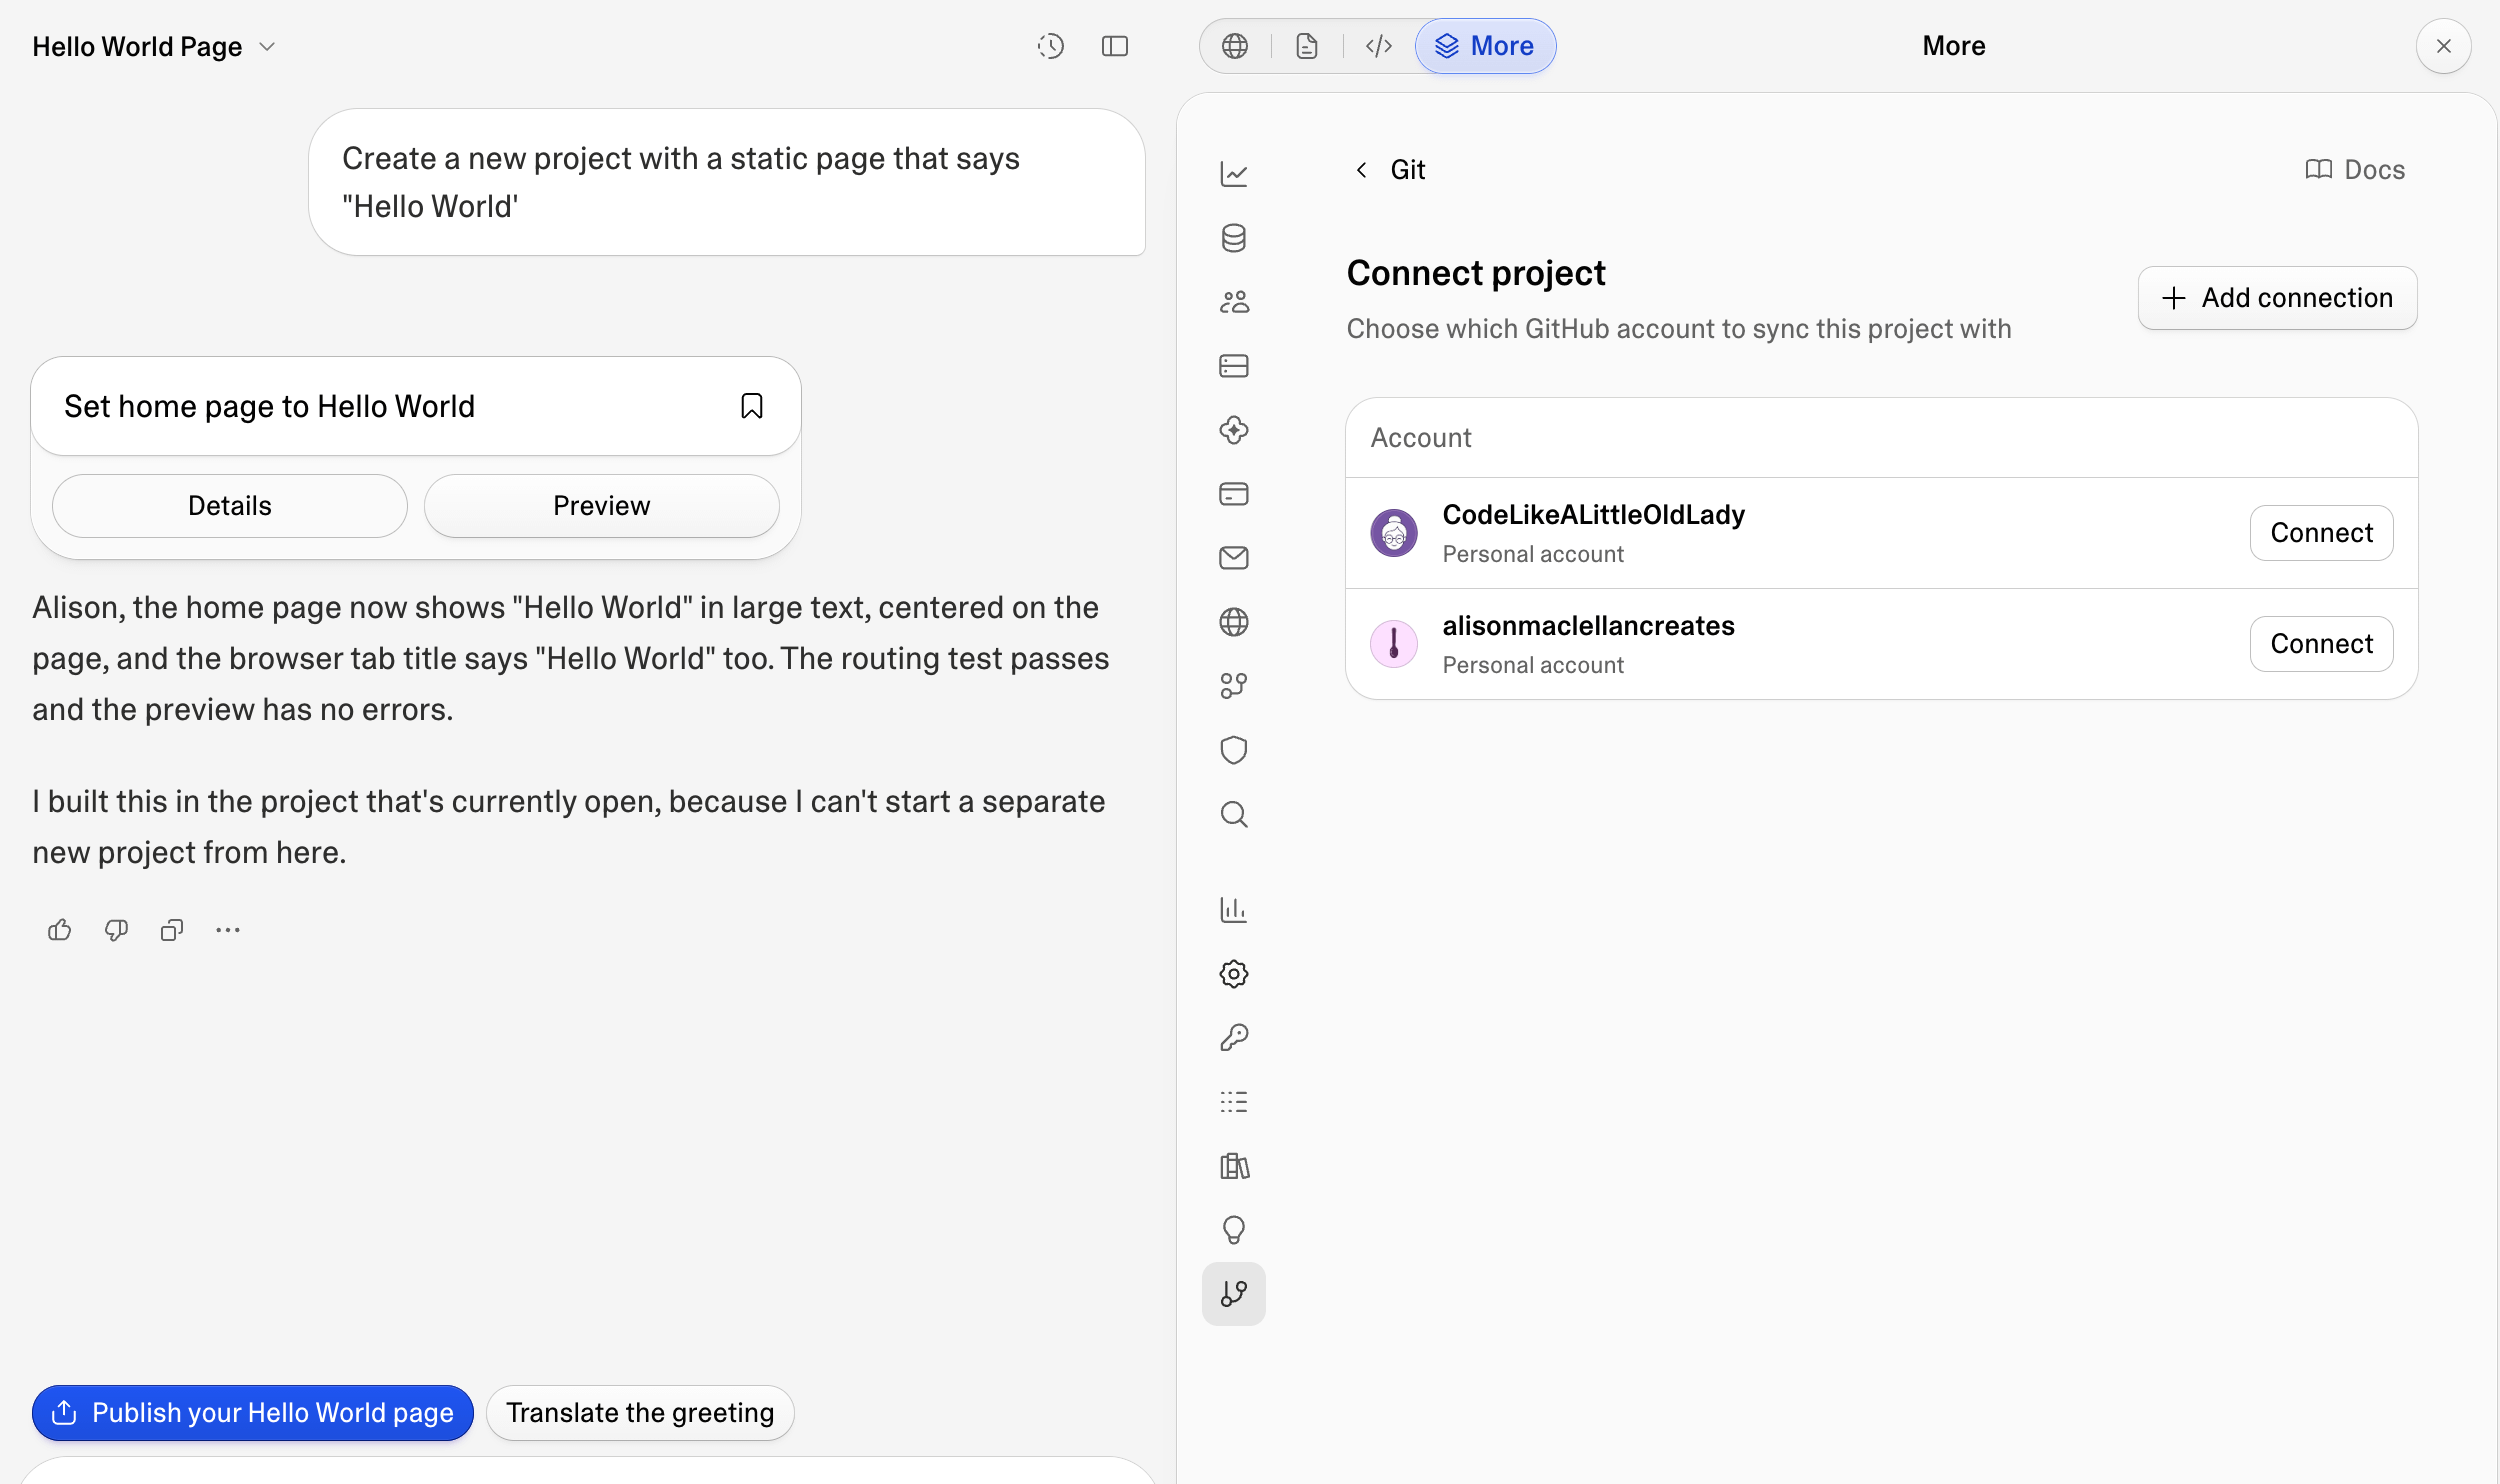
After you select Connect, it will create your repository. You’ll notice the repository name is similar to the project name. You can change the project name all you want, but the repository name will not change.
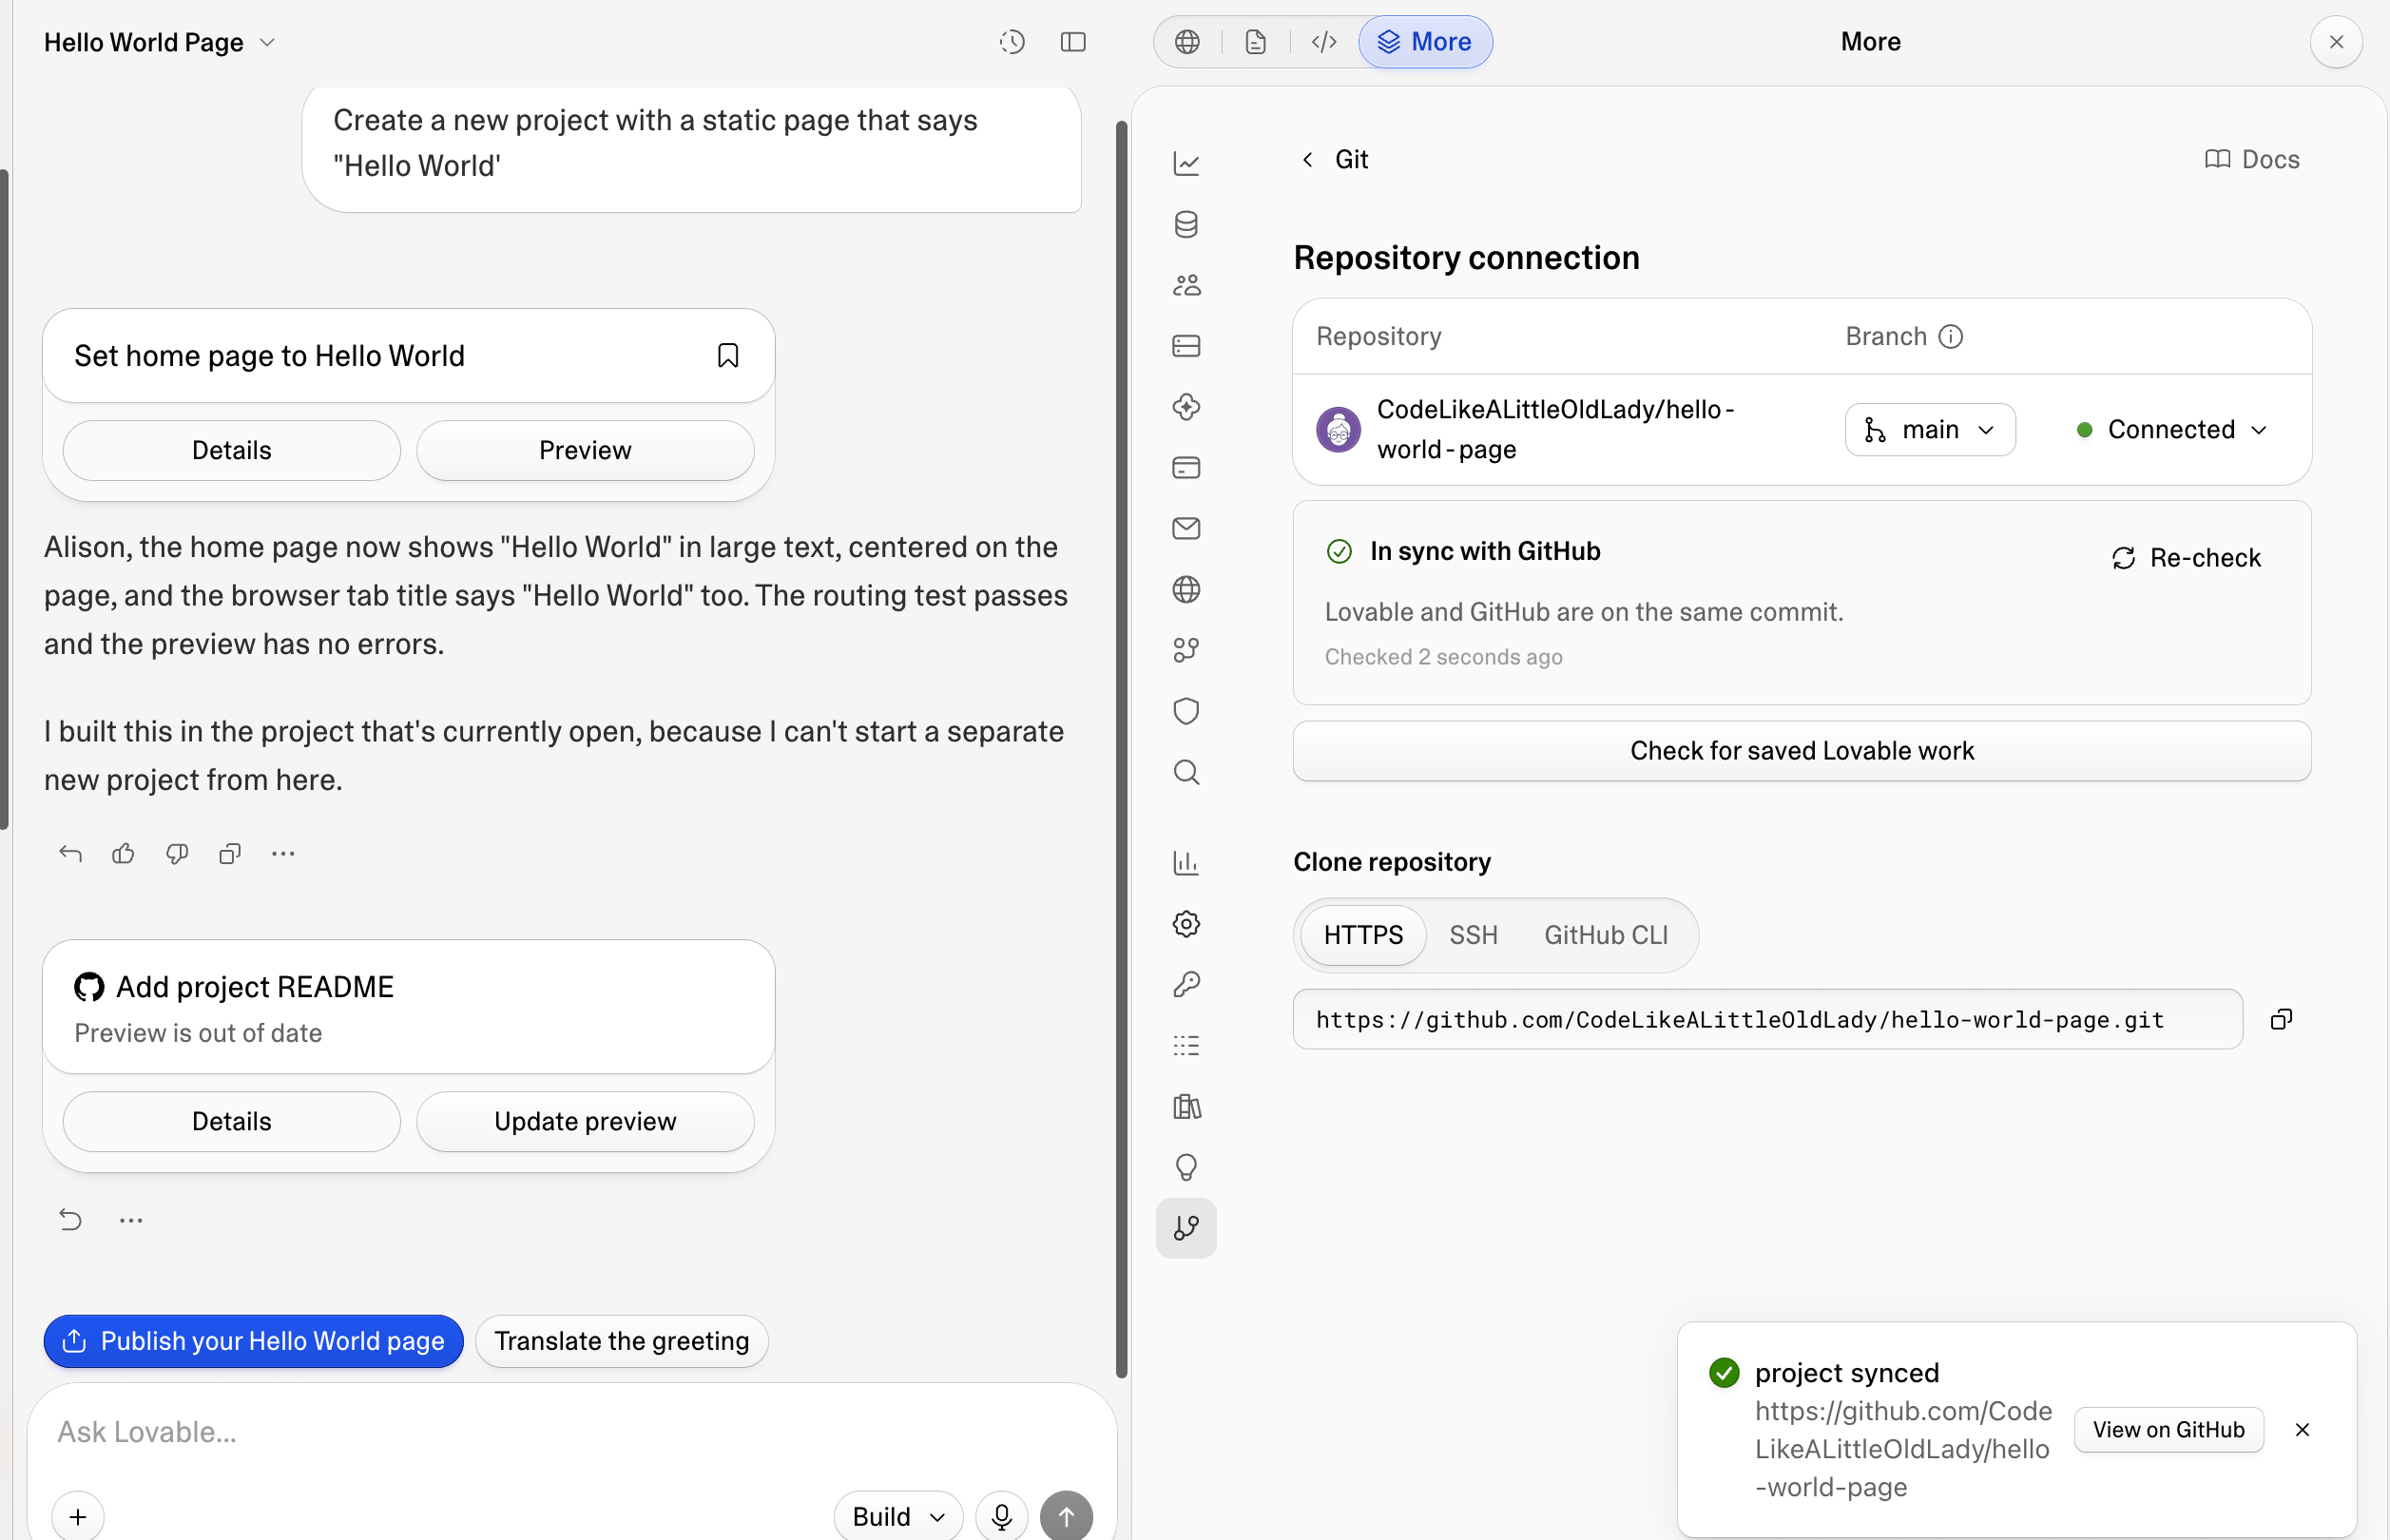
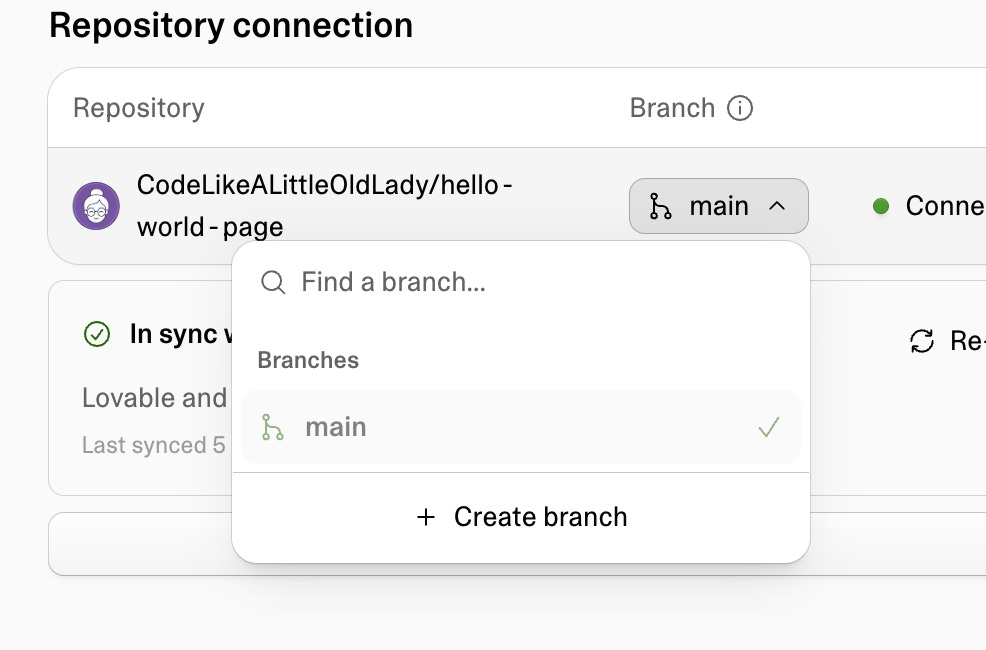
Currently there is one branch in this repository, main. When I work, I want my preview site to be built in the dev branch and then once I am at a good point, I do a pull request from dev to main, and then publish the site from main.
If you remember last week we talked about a repository being like a filing cabinet and branches are the folders. Whichever folder is selected on the Lovable Git page will be what you see in the Lovable preview site. Lovable’s preview site has preview-- at the beginning of the website address you’re publishing to.
To create a dev branch, on the Lovable Git page, you just select main from the branch pulldown and select create a branch.
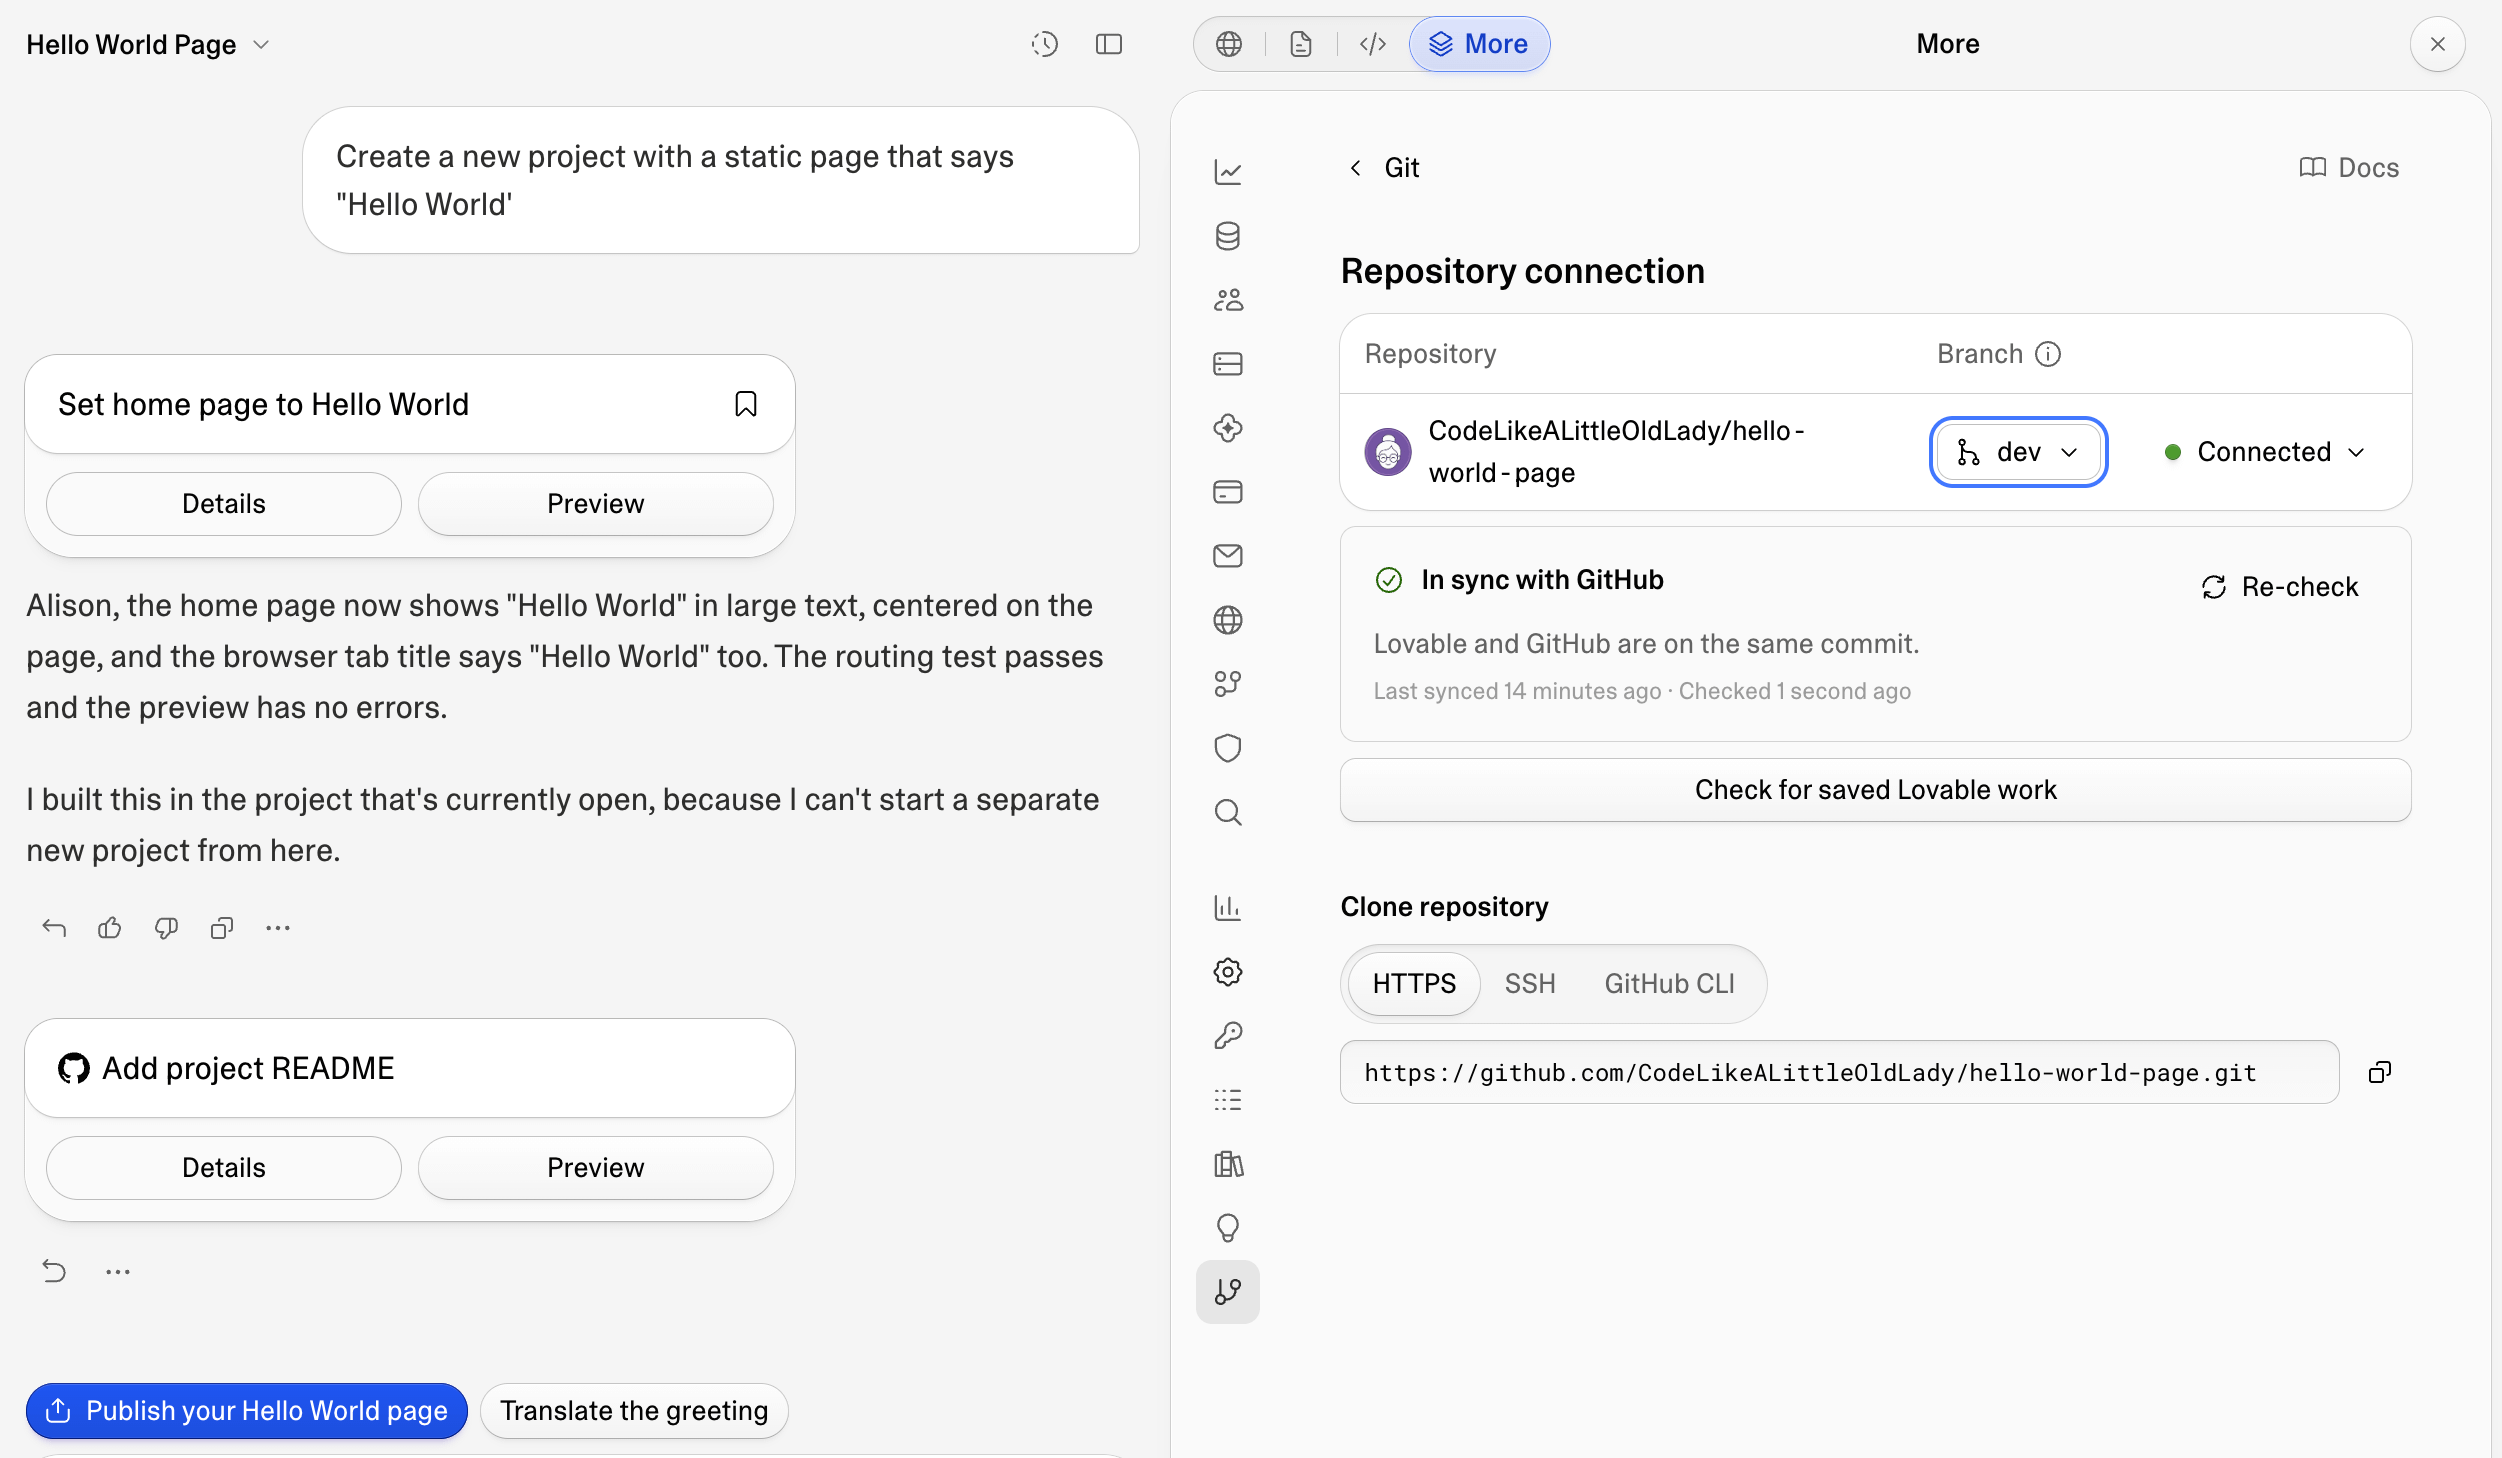
Now you’ll have a branch named dev and you’re ready to work. Well, almost.
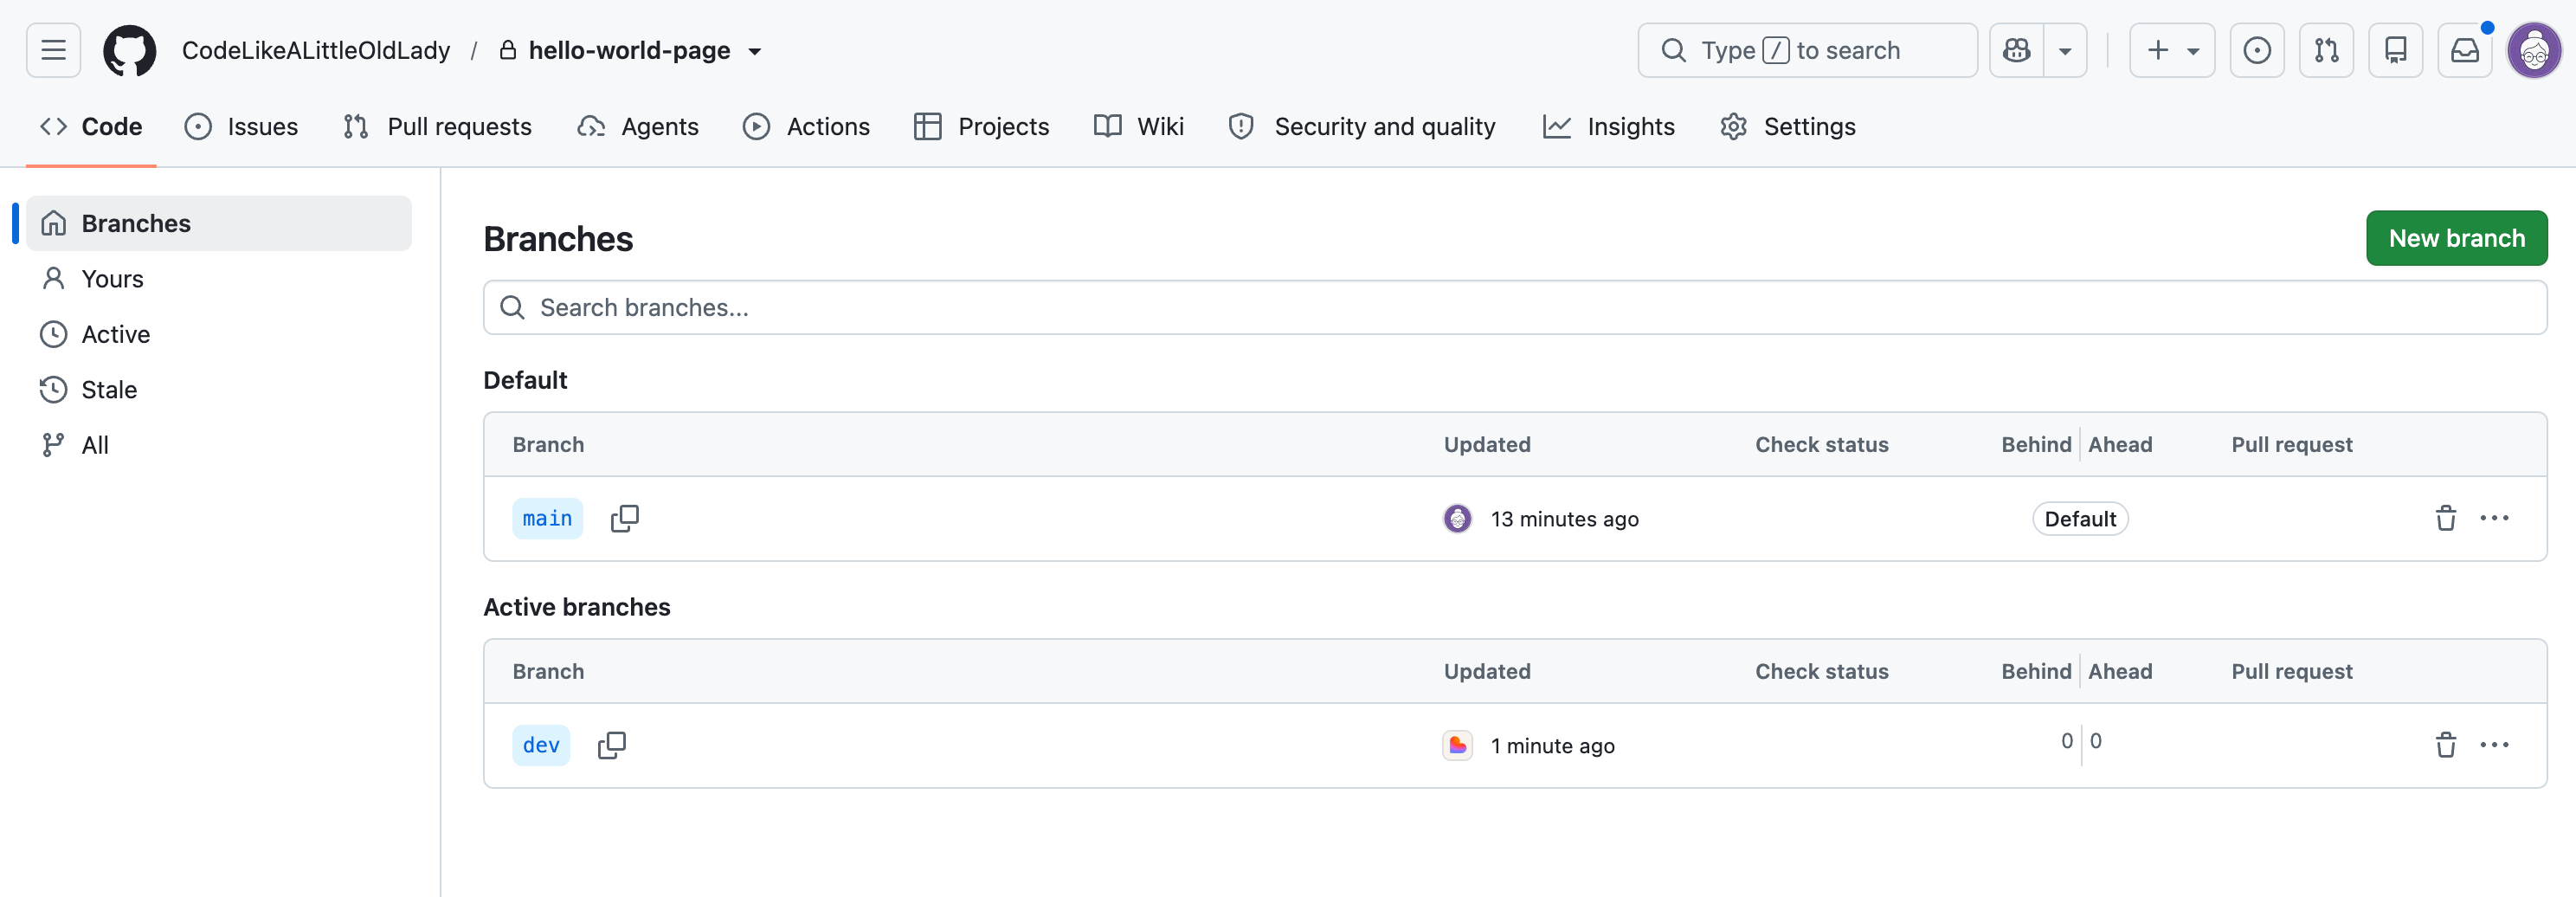
The next thing I build is a set of rules on the dev and main branches. These rules protect me from writing directly to main or dev. Why would I want that? Because I do a thing called a pull request and code review for everything I create. A pull request is how you ask to move changes from one branch into another, so they can be checked and reviewed first. You create these rules under Settings in GitHub.
Now we’re building a ruleset.
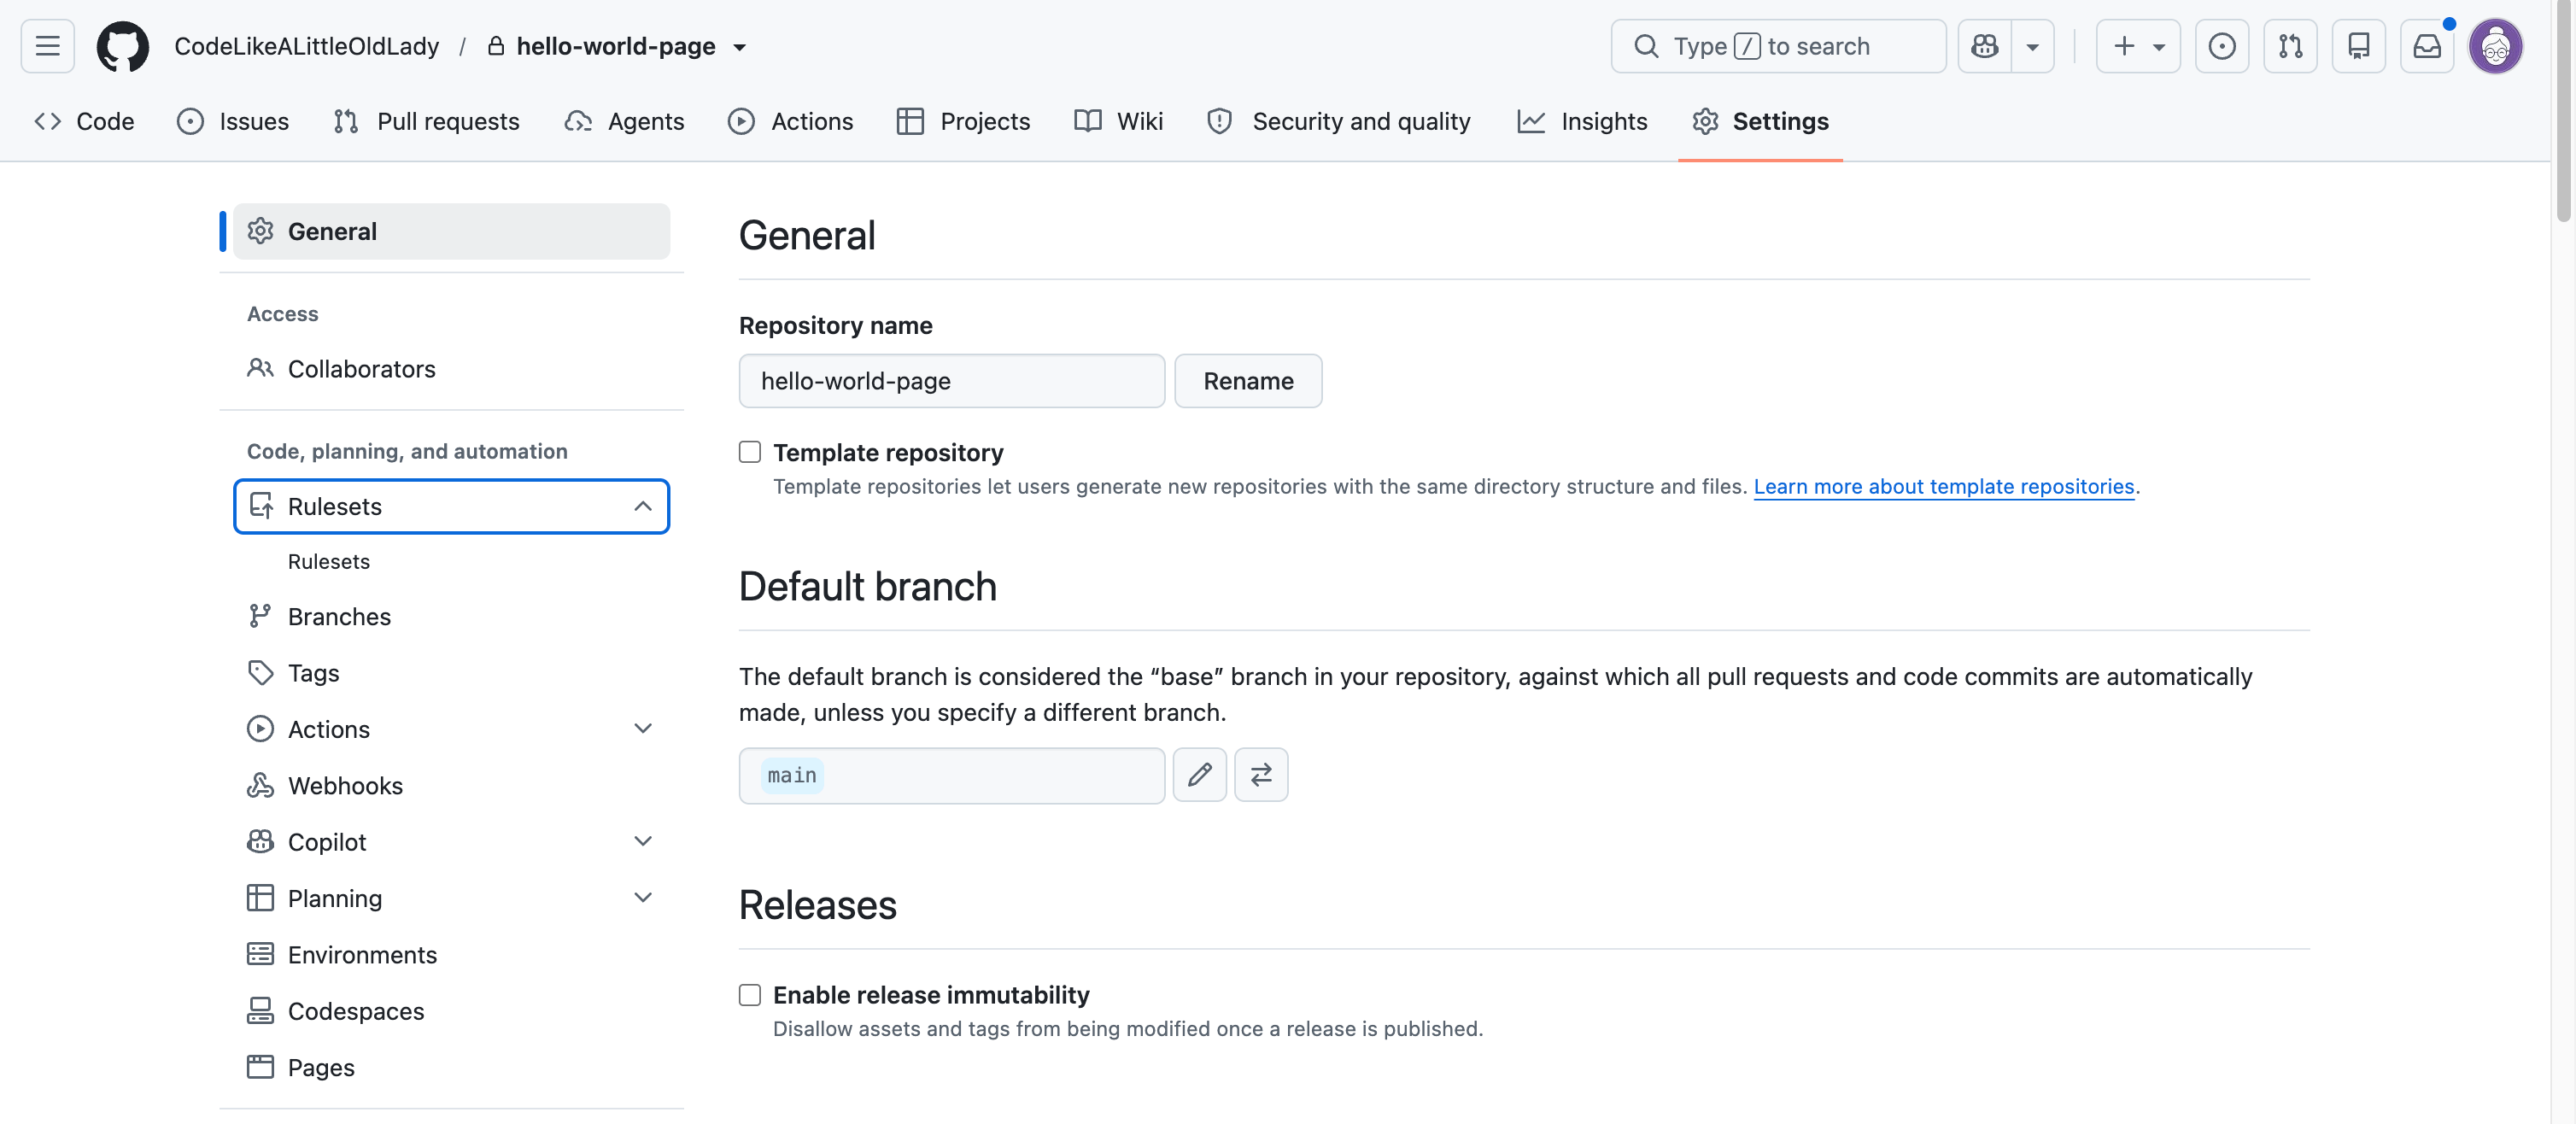
You name the ruleset, select the branch it applies to, and then the rules you want. I want to require a pull request for every change.
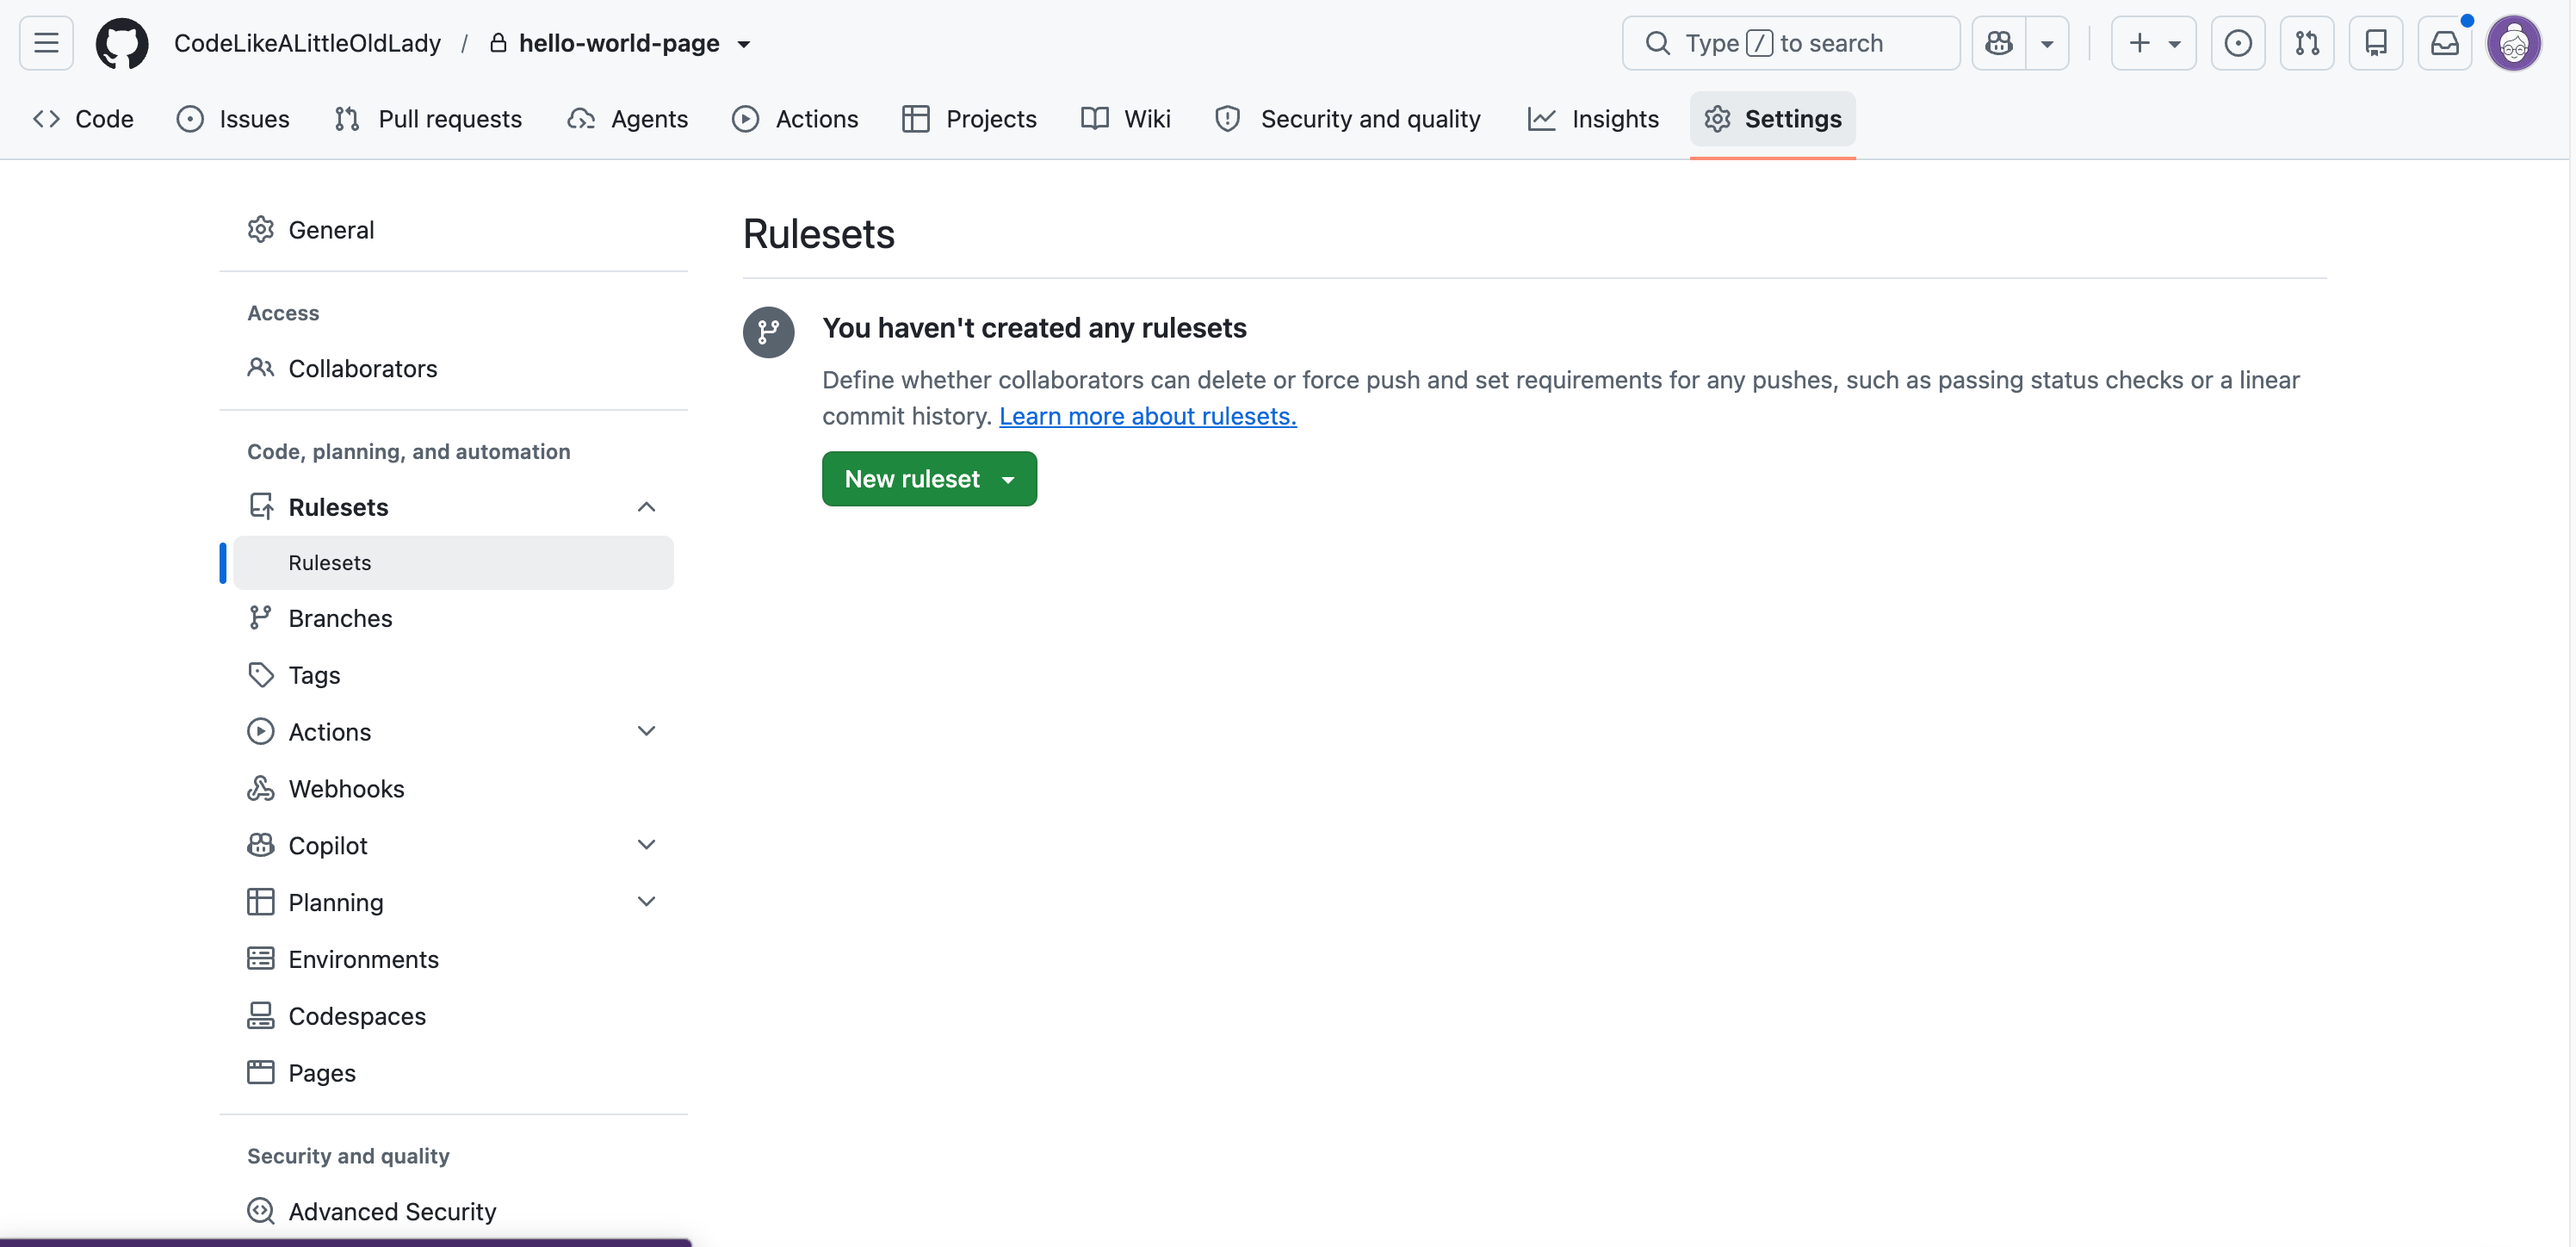
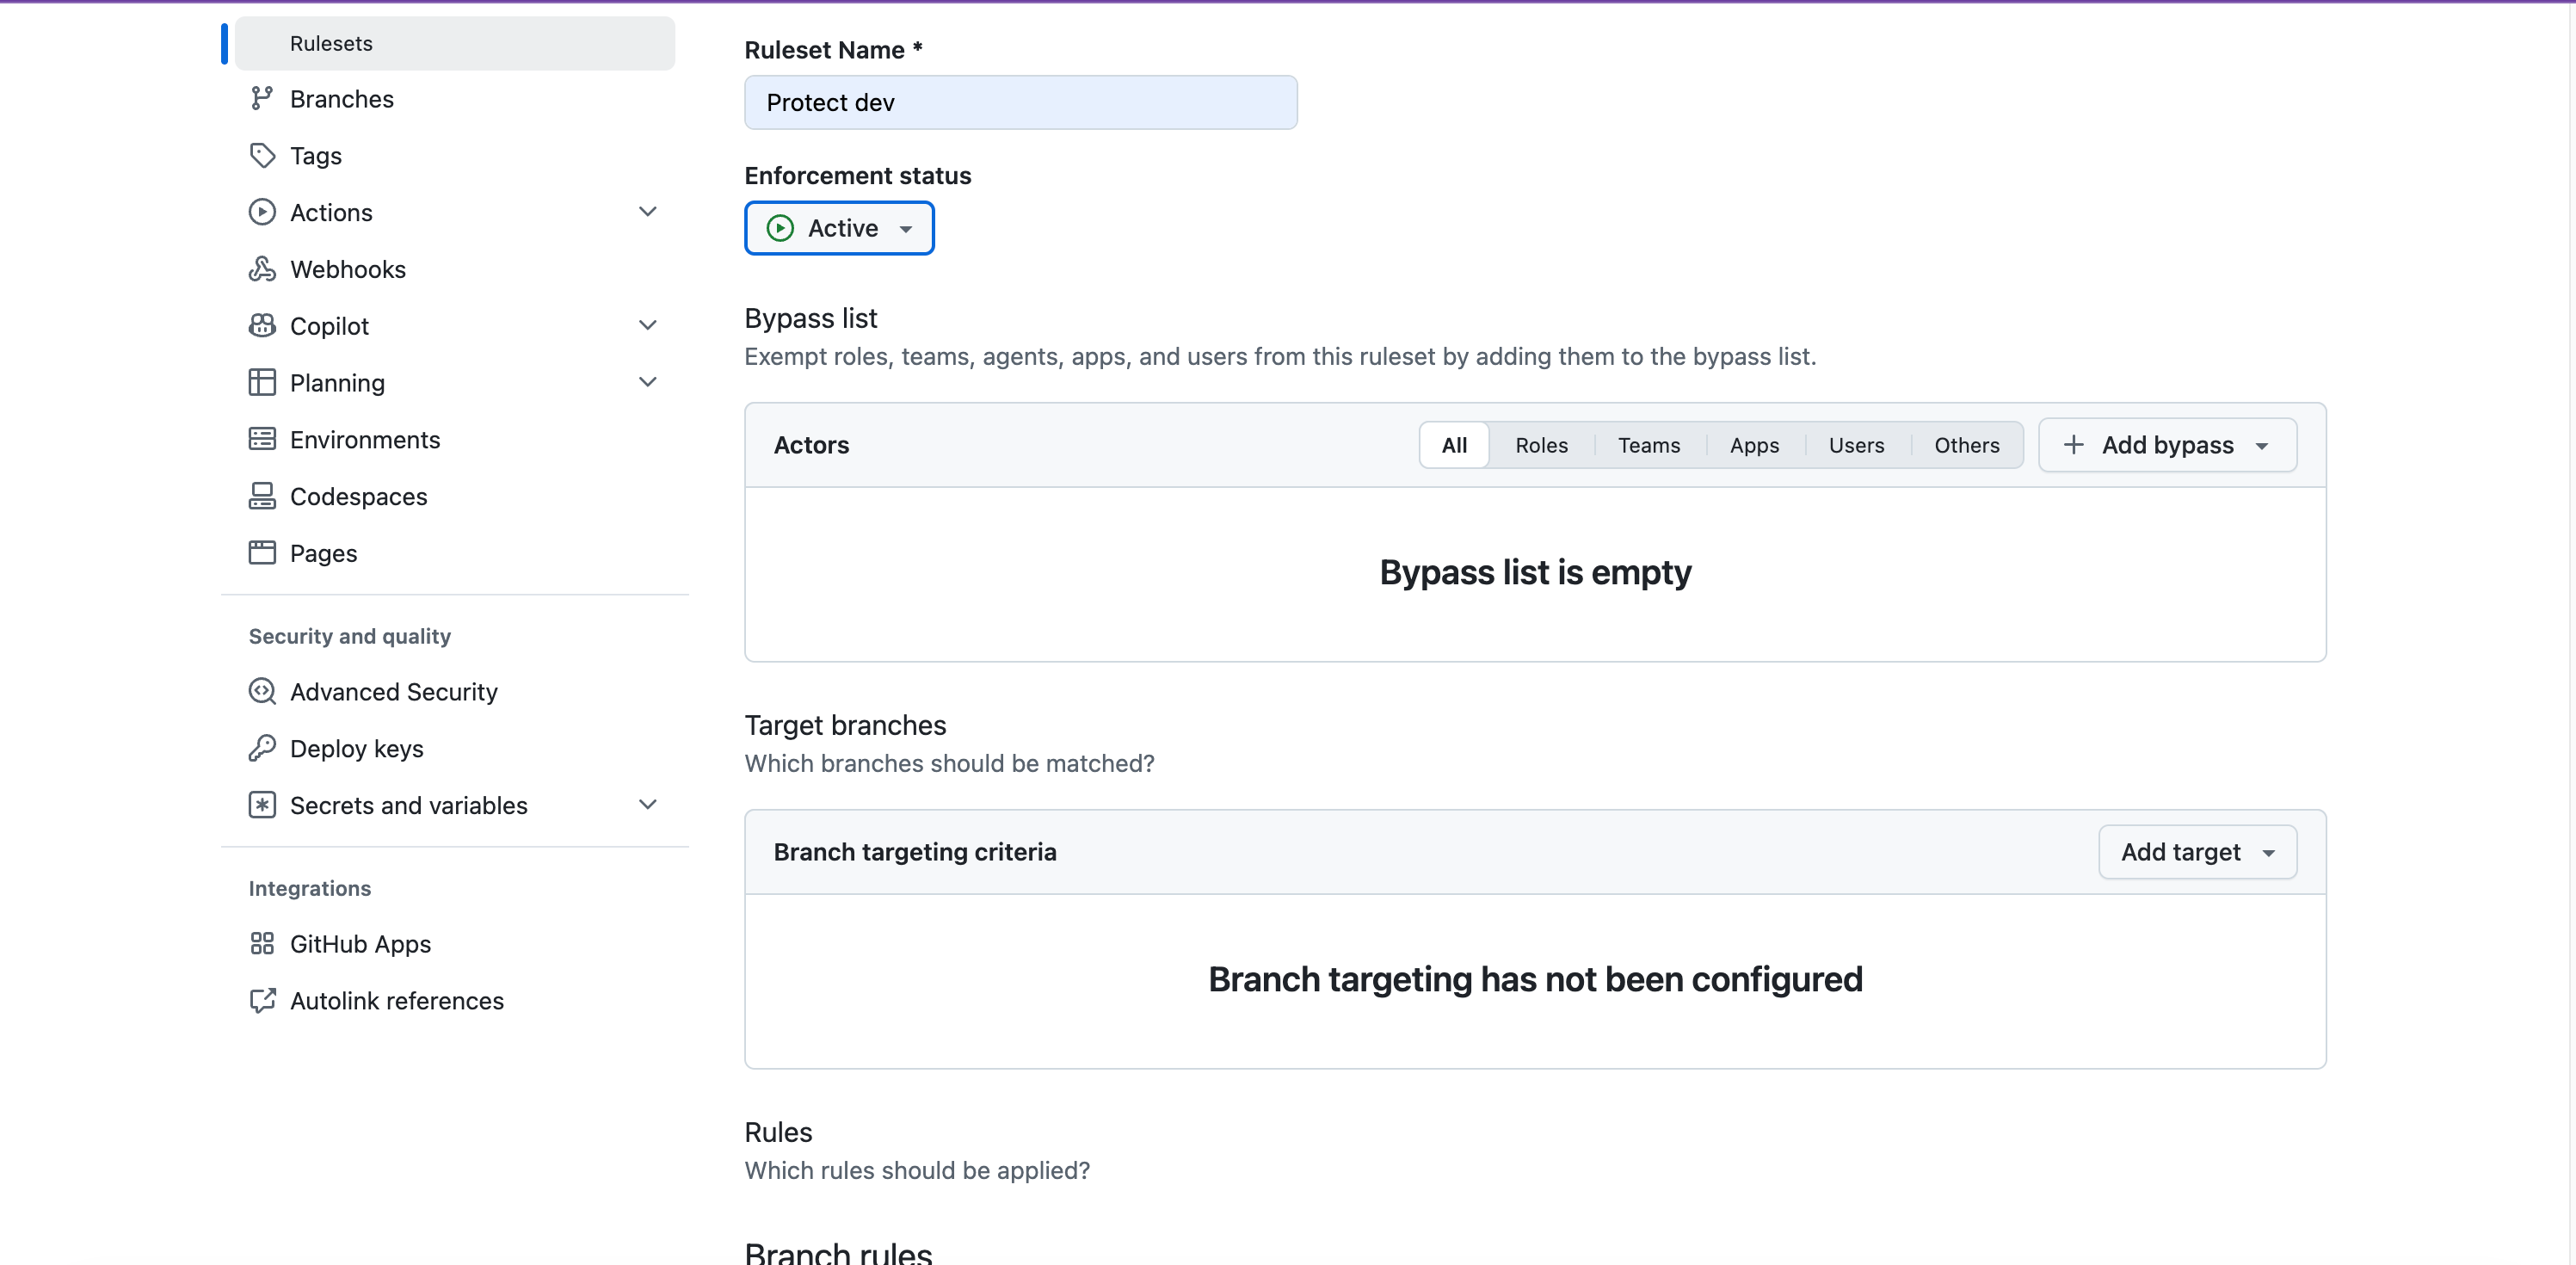
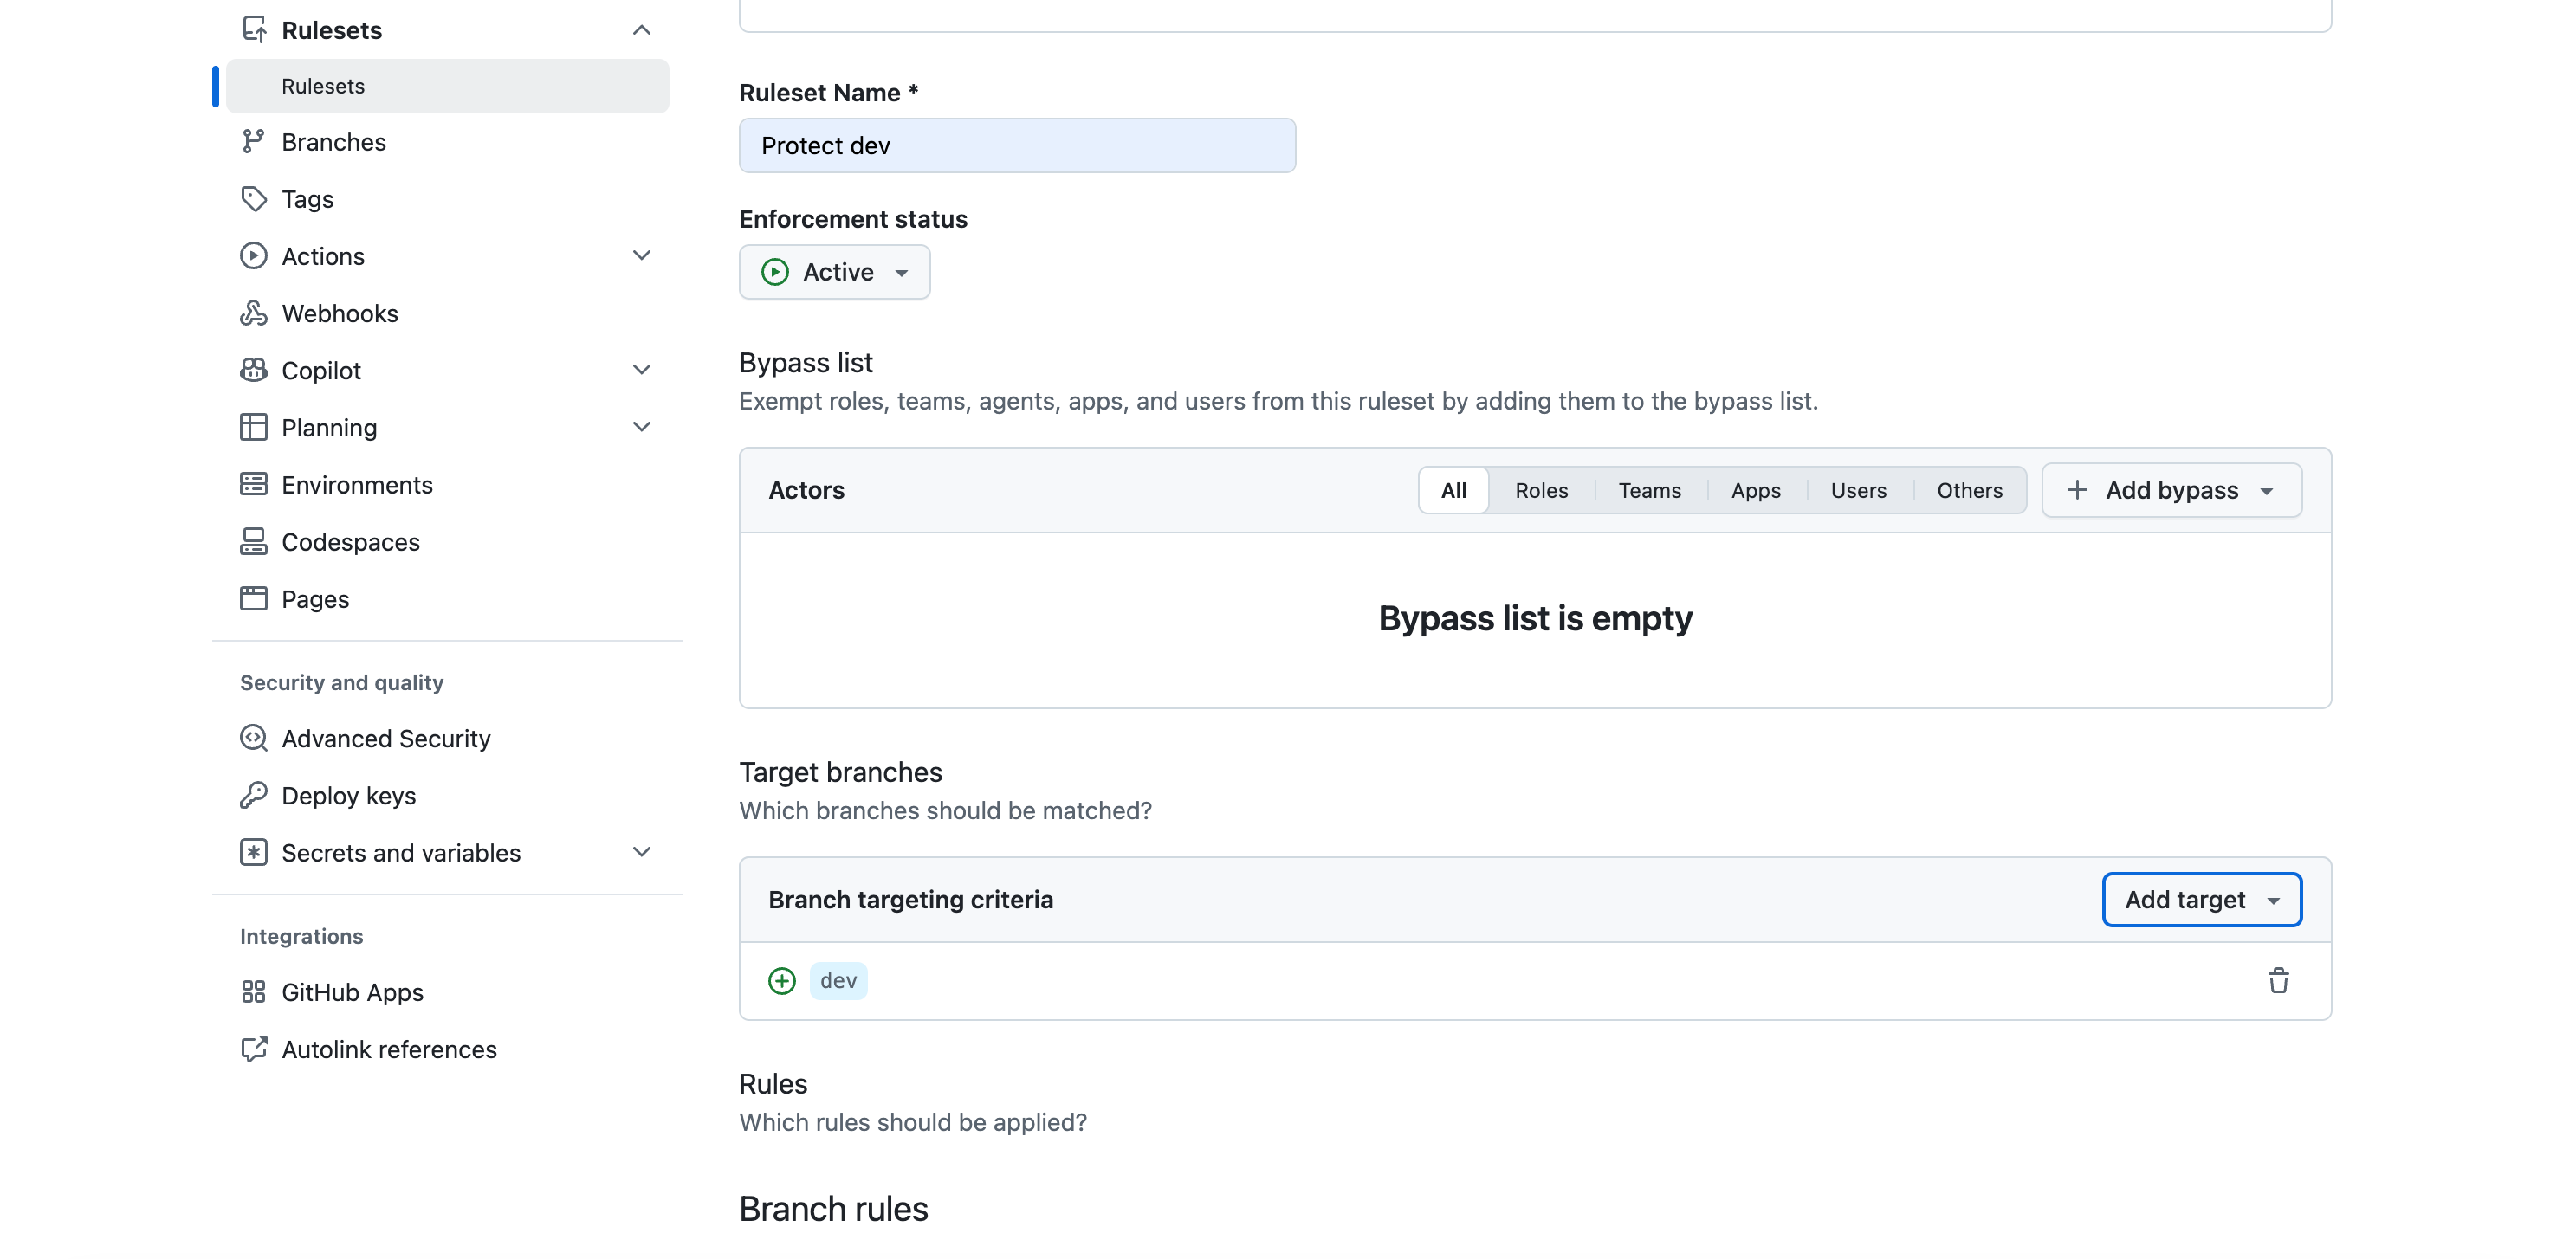
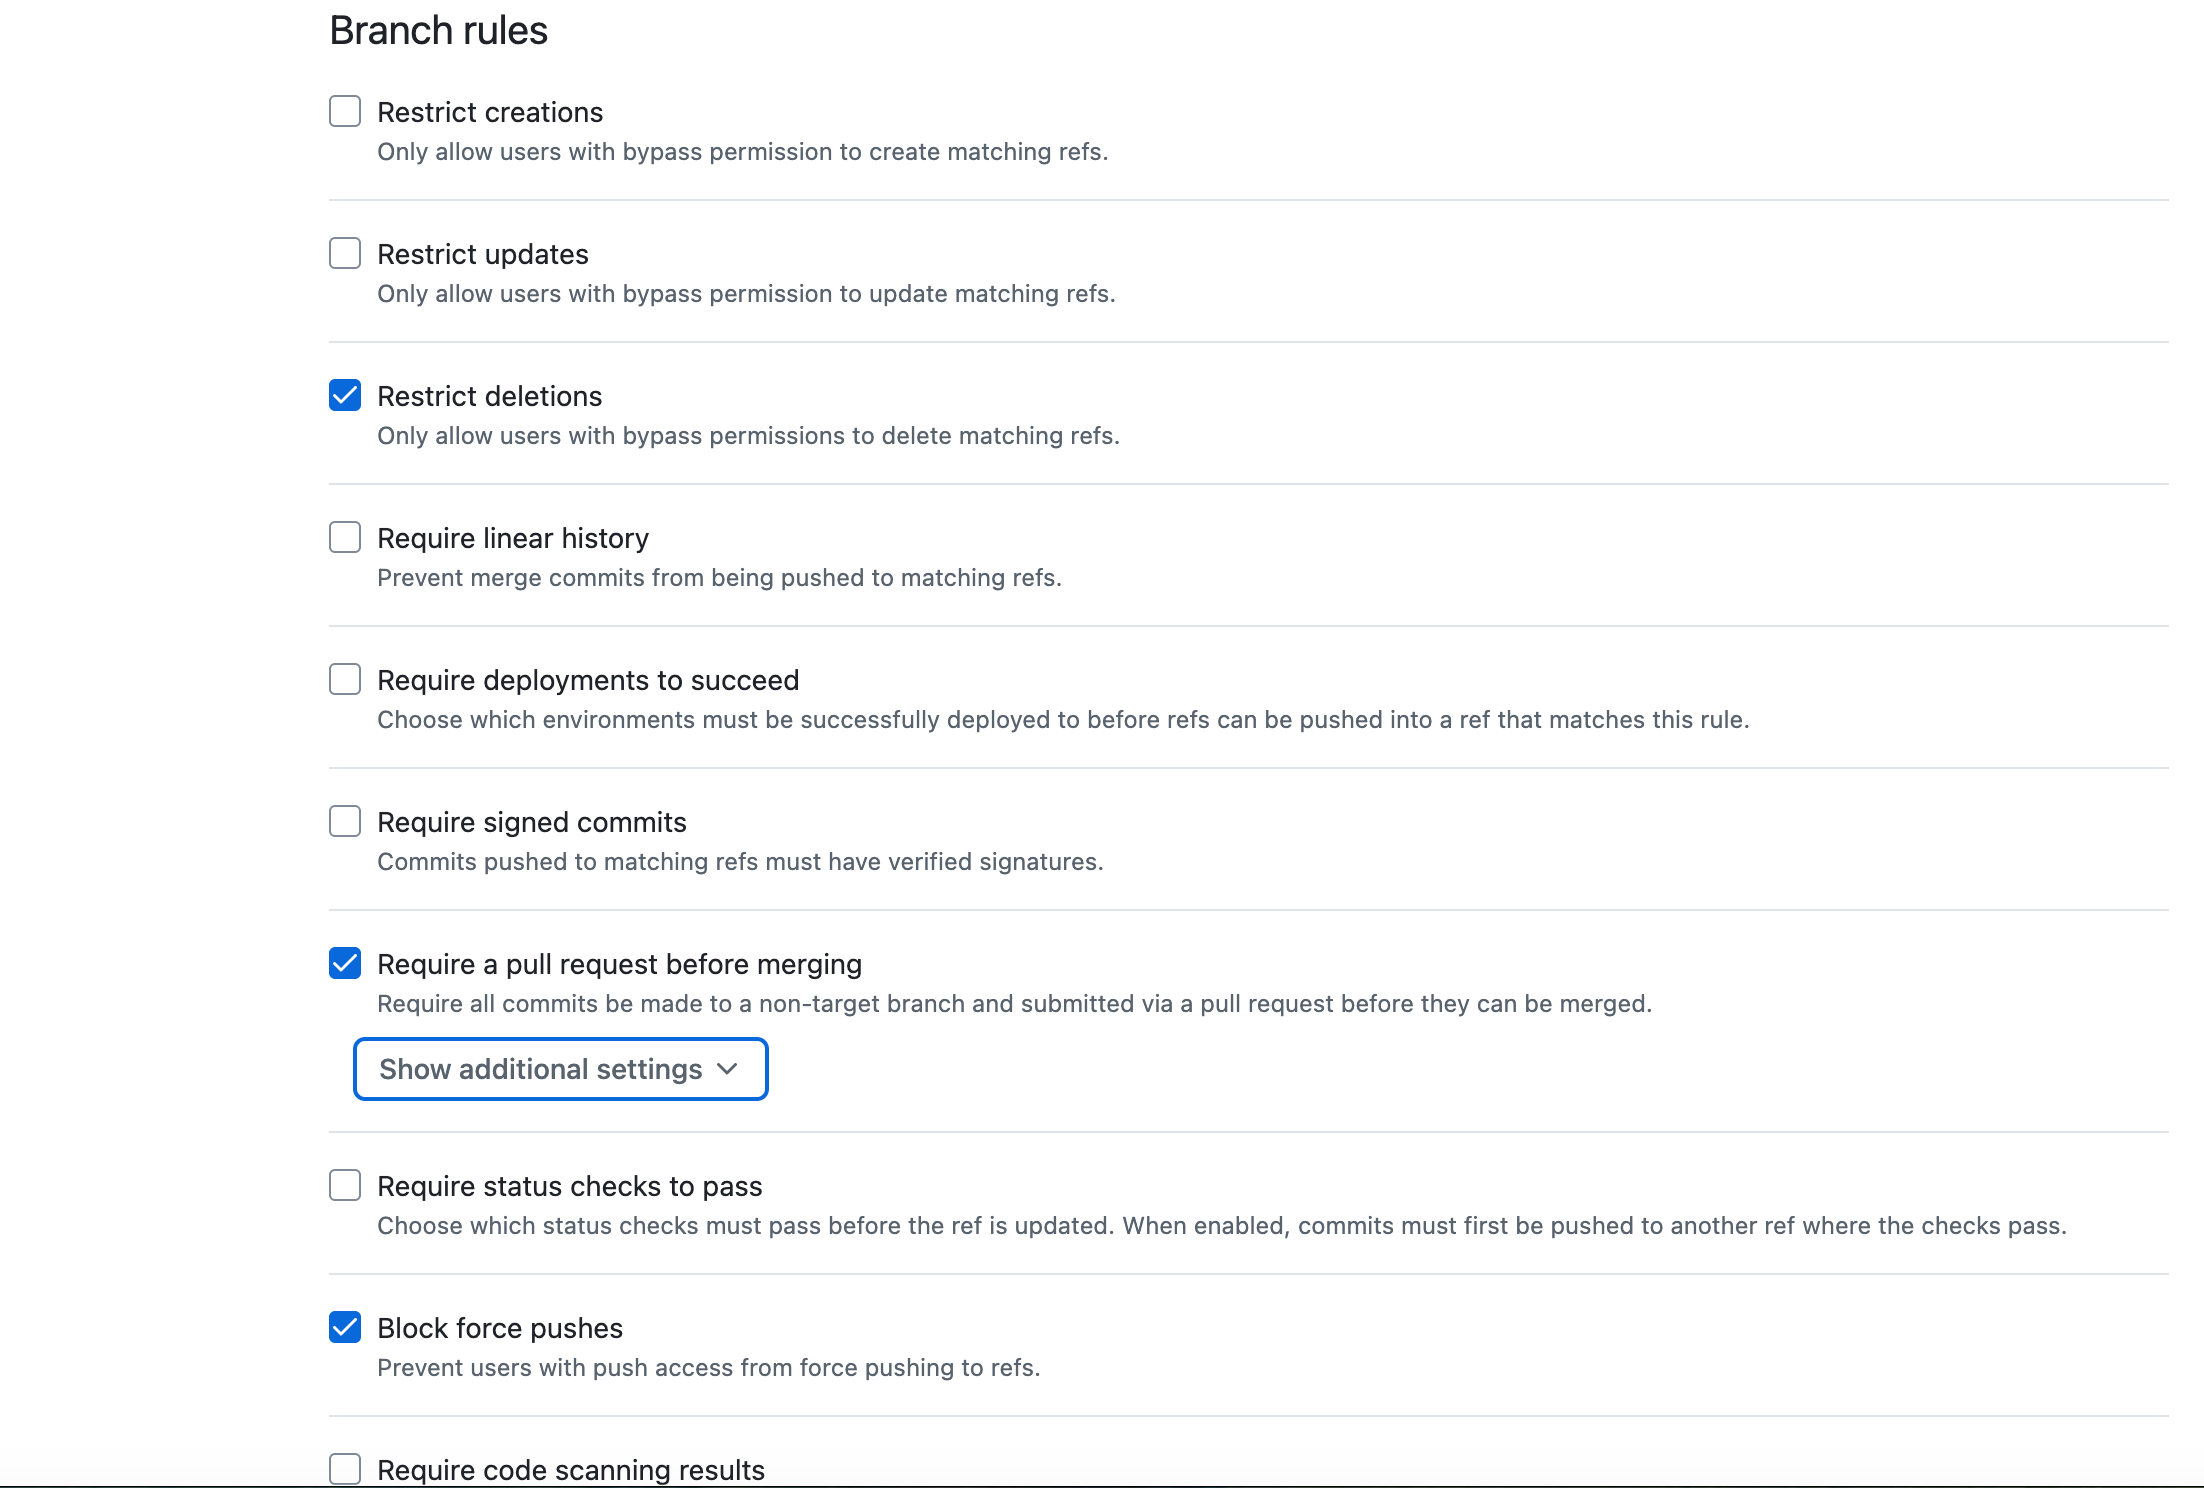
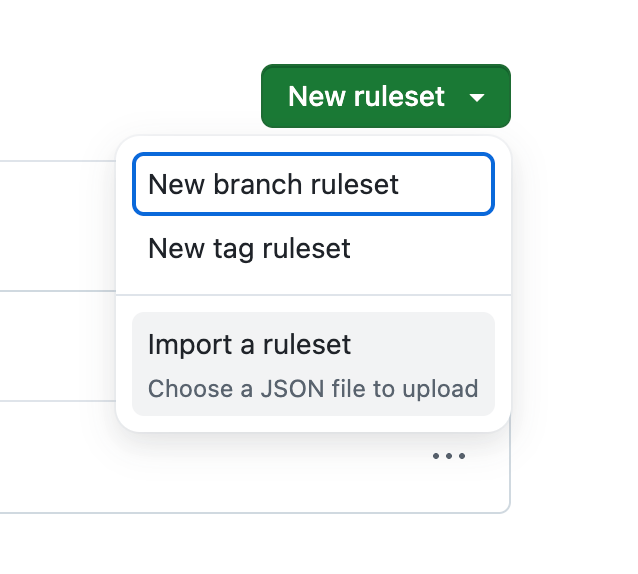
Once you’ve set this up once, you can export the ruleset and save it for future repositories. Then all you have to do is import the ruleset.
I mentioned I have a repository of prompts saved as issues. I copy those issues from the prompt repository to the project repository, giving me a step by step plan of my build.
The last thing you want to do is bring in the brief. You will put it in the repository and in the project knowledge. That’s step 40, which is where we started last week. It comes after the test harness steps, which we’ll get to tomorrow.
There are a few little quirks with Lovable. You cannot prompt Lovable to create your branch. It must be done in the More/Git interface. That’s also how you change the branch you’re working in. Lovable can read the issues directly from the repository to do the build, but you’ll need to create the branch first and change to that branch.
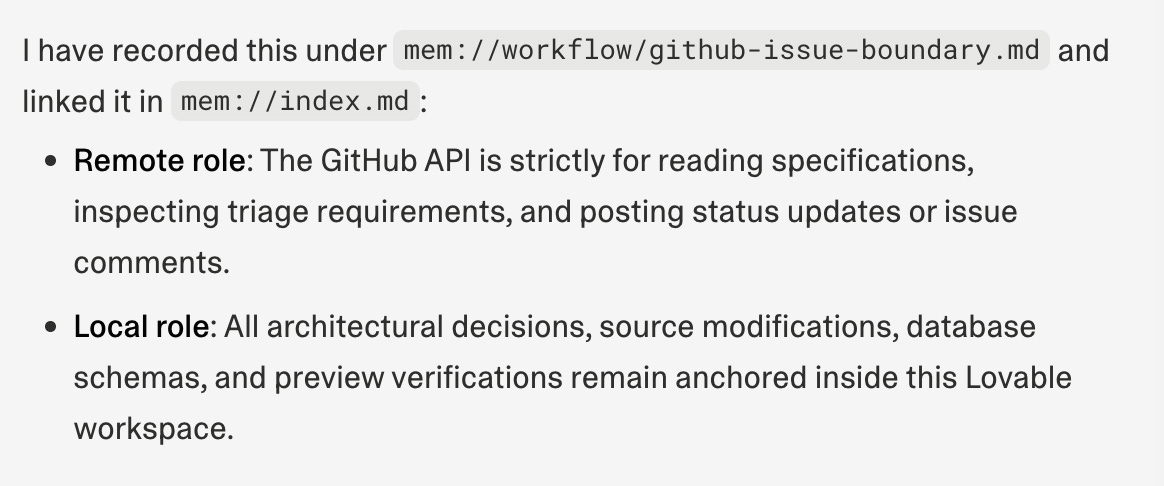
I also ran into a bit of an issue trying to read issues and update code. I asked Sully about it and here’s the explanation.
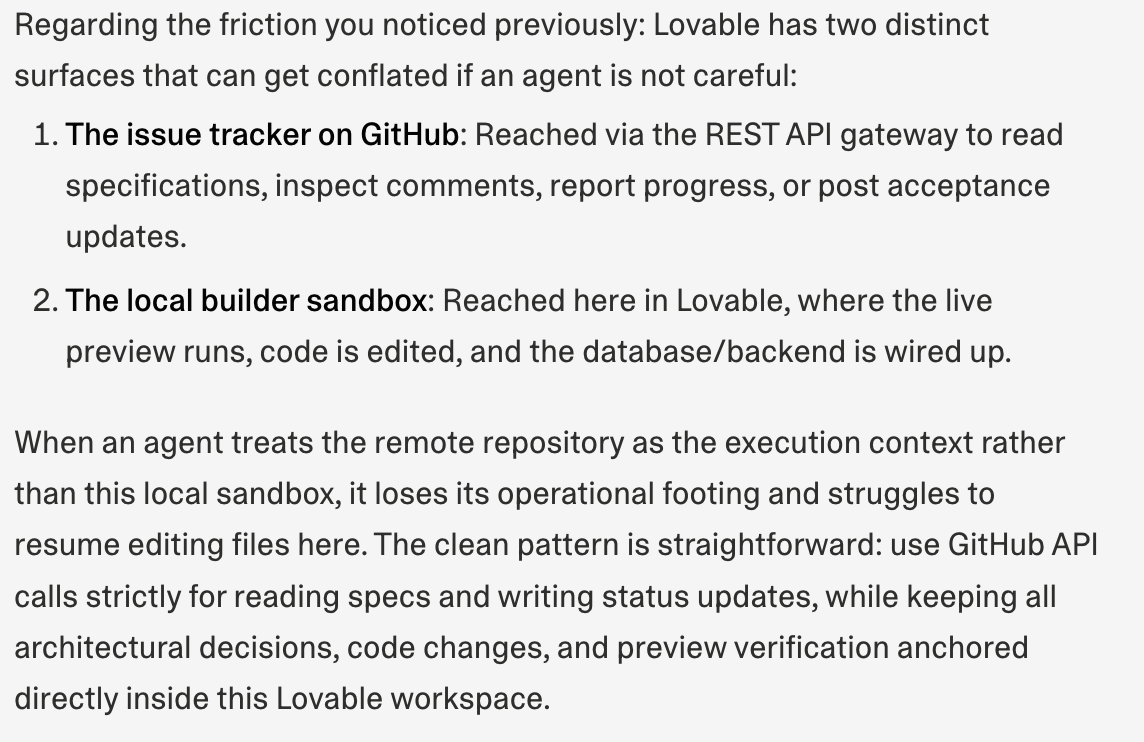
Remember last Monday’s essay on memory? Here it is in action. I now have this added to my memory so I don’t hit it again.
Tomorrow we’ll start with the issues and building our product, One Prompt, One Branch, One Review at a time.
Glossary
Admin (administrator): the person who runs the site, blocking spam, clearing issues, and keeping things running
Anonymize: to remove anything that connects data to a specific person
Branch: a separate copy of the project where you can make changes without touching the main version
Brief: a written description of the product. Names, fields, limits, rules. No code.
Check in: saving your changes to the repository
Dev branch: the working branch. What it holds is what you see on the preview site. (new)
End to end (E2E): the full journey through the app, from first screen to last
Entity: one kind of thing the database stores, like a plate, a story, or a user
ERD (entity relationship diagram): a picture of the entities and how they connect
GitHub: a website for storing projects, their history, and the work planned for them
Hello world: the simplest possible starter program, traditionally a page that just says hello (new)
Hero image: the large image at the top of a page
Issue: a single task tracked in GitHub. In this series, each issue is one step.
Label: a tag on an issue that tells you something about it at a glance. Mine say who does the work.
Memory: what Rowan and Lovelace pick up over time from working with me
Milestone: a group of issues that together complete something larger
Palette: the set of colors a design is allowed to use
Preview site: a private copy of your site built from the dev branch, for checking work before publishing (new)
Project knowledge: the place in Lovable where the brief lives, read by Sully with every prompt
Prompt: the instructions you give an AI to do a piece of work
Proof of concept: a quick, rough build to see whether an idea works
Publish: to make the site live for everyone, built from the main branch (new)
Pull request: a request to move changes from one branch into another, so they can be checked and reviewed first (new)
Regenerate: when an AI image tool redraws the whole image instead of changing one part
Regression: an error in something that was previously working
Remix: Lovable’s way of starting a new project from an existing one (new)
Repository (repo): where a project’s files and history live in GitHub
Role: a label on an account, like admin, that decides what that person can see and do
Ruleset: a set of GitHub rules protecting a branch, such as requiring a pull request for every change (new)
Schema: the blueprint for a database: what things it stores and how they connect
Seed data: a starting set of data loaded into a new database
Source code management (SCM): a system for storing code and tracking every change to it
Static page: a page that looks real but doesn’t do anything yet
Storyboard: the set of screens showing how a user moves from page to page
Telemetry: data an app collects about how it’s used and what it was doing when something went wrong
Test harness: the automated tests and checks that run on every change to confirm nothing broke
Token: the unit AI tools use to measure text, and often to charge for it
Visual guide: a single page showing every color, style, and component the app uses